Archive - April 2015

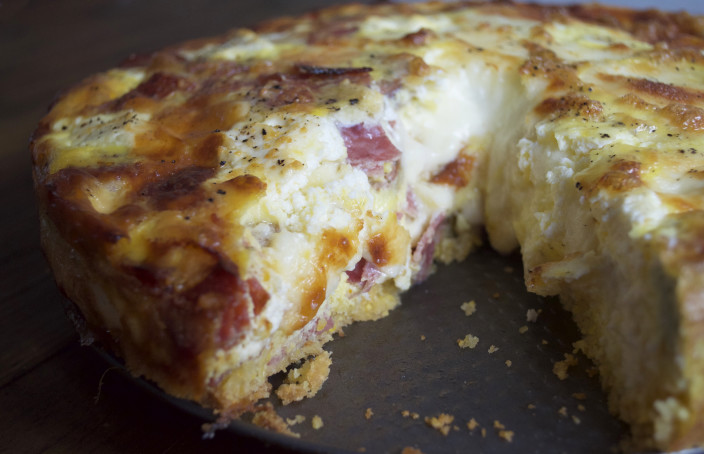
A New Take on Pizzagaina

Jason’s Nana is incredibly talented in the kitchen. I haven’t had a single meal there that I didn’t enjoy, even as a vegetarian in a household of meat-lovers! We’ve spent many holidays at their house, and when the pizzagaina is brought out it gets devoured in no time. All while his grandparents reminisce about who’s father or mother made it better.

When I was thinking about us spending our first holiday away from family, I wanted to see if I could create something that felt like home. The result is spectacular. I adore this recipe and hope to share it with Jason’s grandparents one day.

Pizzagaina with Cornbread Crust
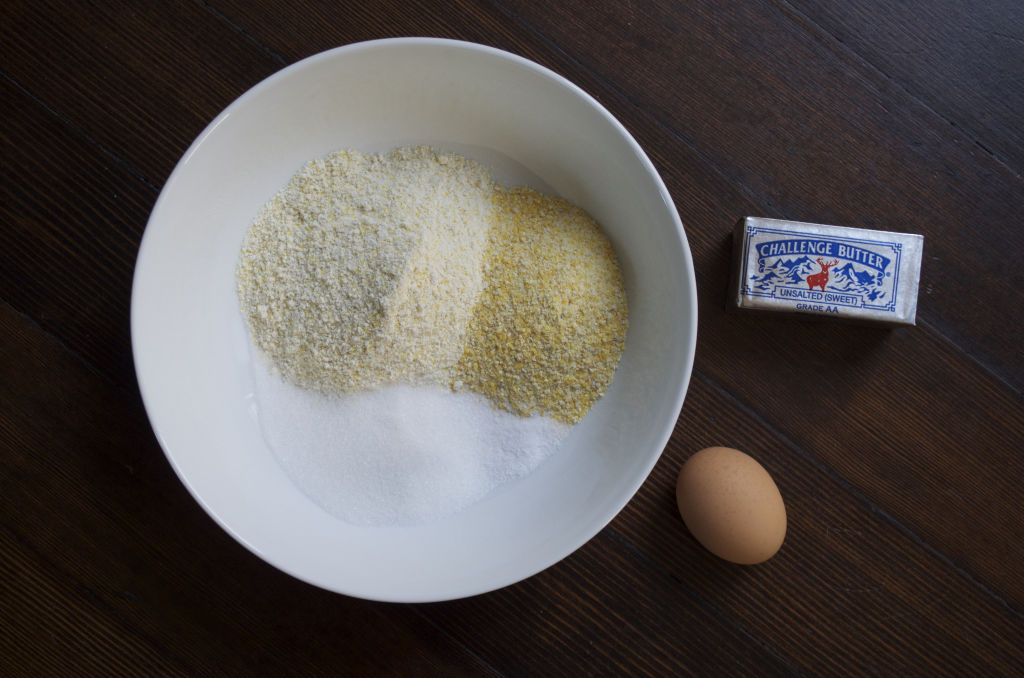
Crust
1 cup gluten free cornbread mix
1/2 cup cornmeal
3 Tablespoons sugar
1/2 teaspoon salt
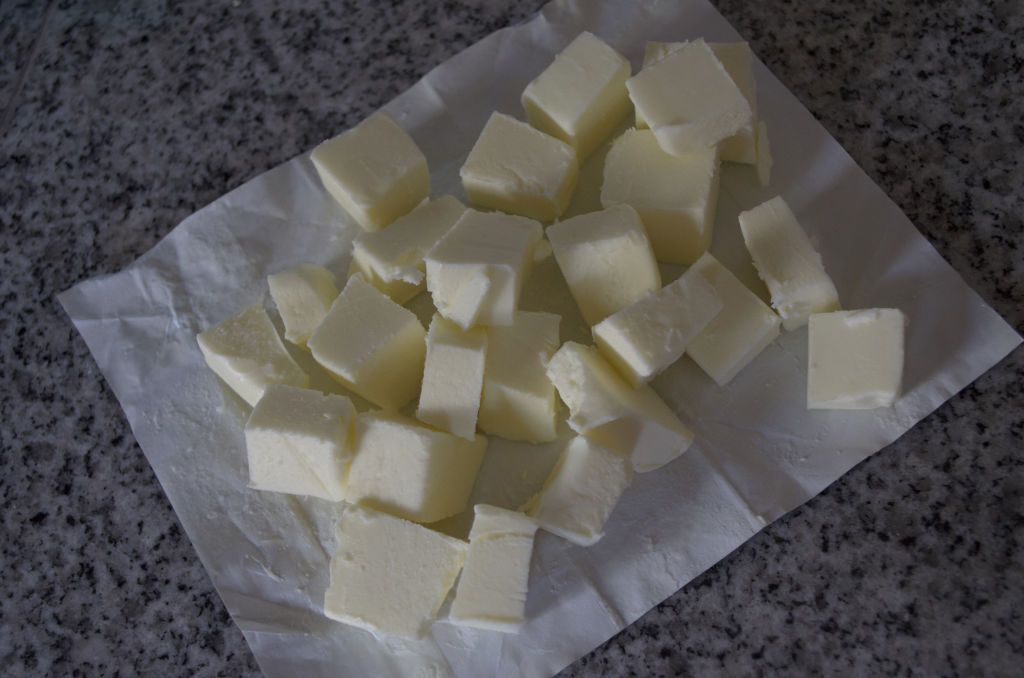
1 stick unsalted butter, cut into pieces
1 egg

Filling
14 large eggs
1/2 lb pepperoni
1/2 lb salami
1/2 lb Italian sausage
1/2 lb mozzarella cheese
1/2 pound provolone cheese
1 12-ounce container of ricotta cheese
1/8 cup parmesan cheese
salt and pepper

1. Preheat oven to 350 degrees. Oil the bottom and sides of a 10-inch springform pan. Wrap the bottom in tinfoil (to make sure eggs don’t sneak out any gaps).

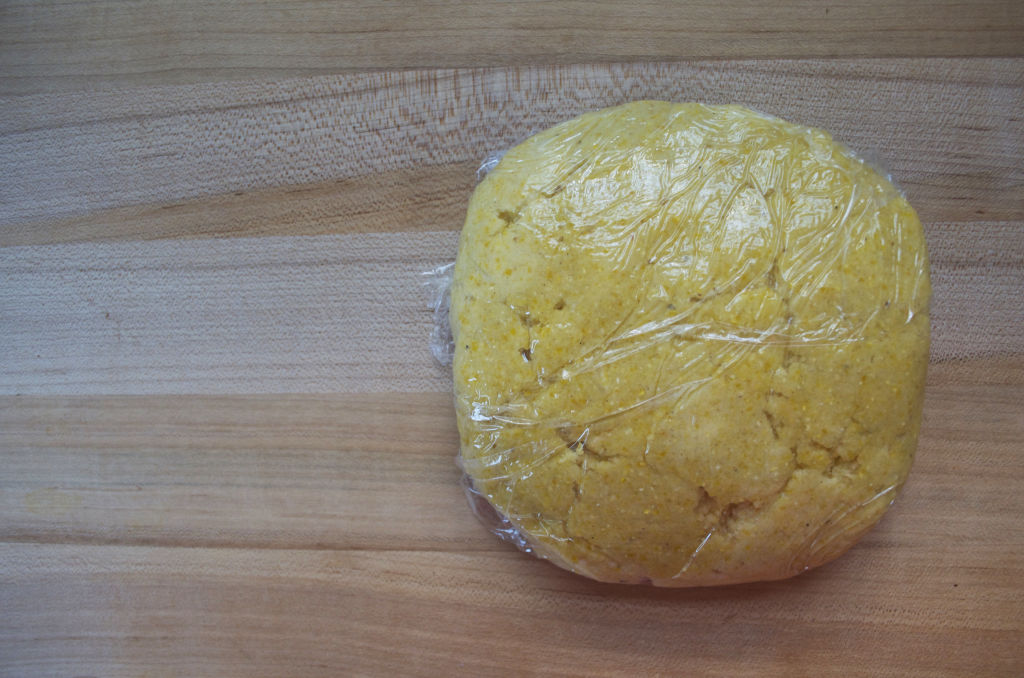
2. To make the crust, combine dry ingredients into a food processor. Add chunks of butter and pulse until it starts to come together. It should start to look wet, at that point, add the egg. Pulse until a ball has formed.

DSC_0622

DSC_0625

DSC_0637

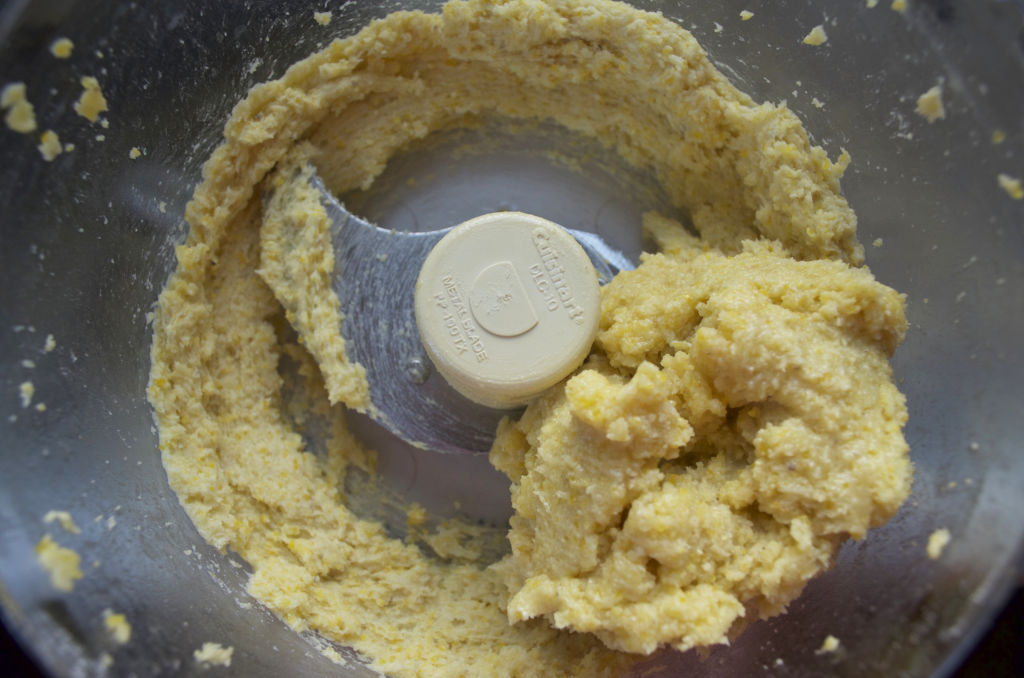
3. Remove from food processor, form a disk, and wrap in plastic. Place in refrigerator to cool for at least 20 minutes.

DSC_0650

4. Evenly spread the dough over the bottom of the springform pan. Firmly press down.

DSC_0707

5. Cut meat and cheeses into bite size pieces.

DSC_0678

DSC_0699

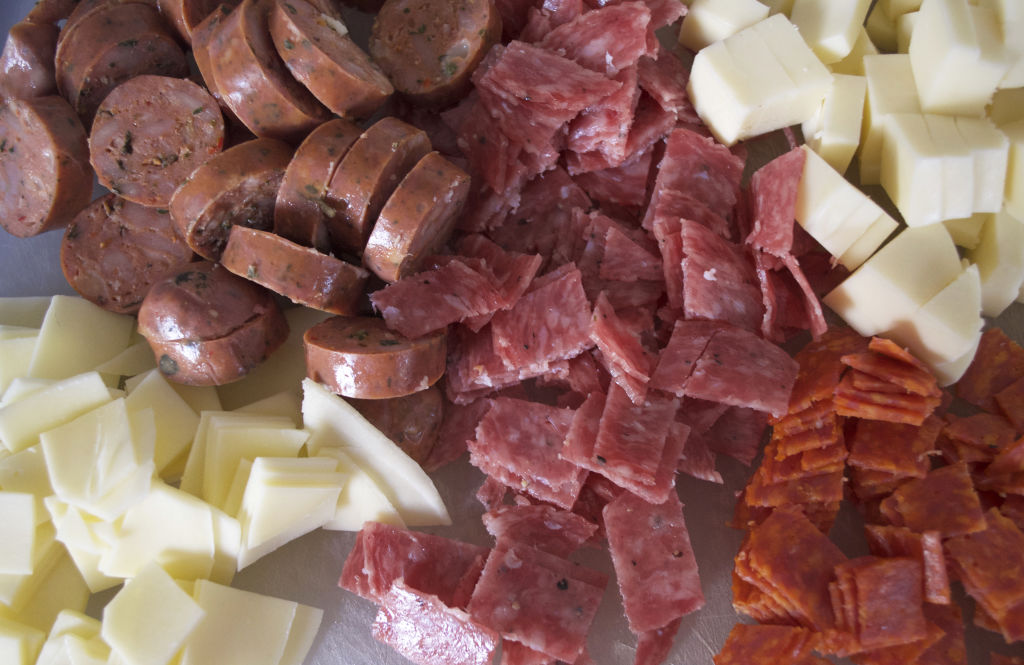
6. Layer half of the sausage, pepperoni, salami, mozzarella, provolone on top of each other and top with ricotta. (I only put meat on half for Jason and the other half simply cheese for me).

DSC_0713

6. Pour half of the beaten eggs on top. Repeat the layering process with the remaining meat and cheese. Pour in the remaining egg. Sprinkle with salt, pepper, and parmesan.

DSC_0734

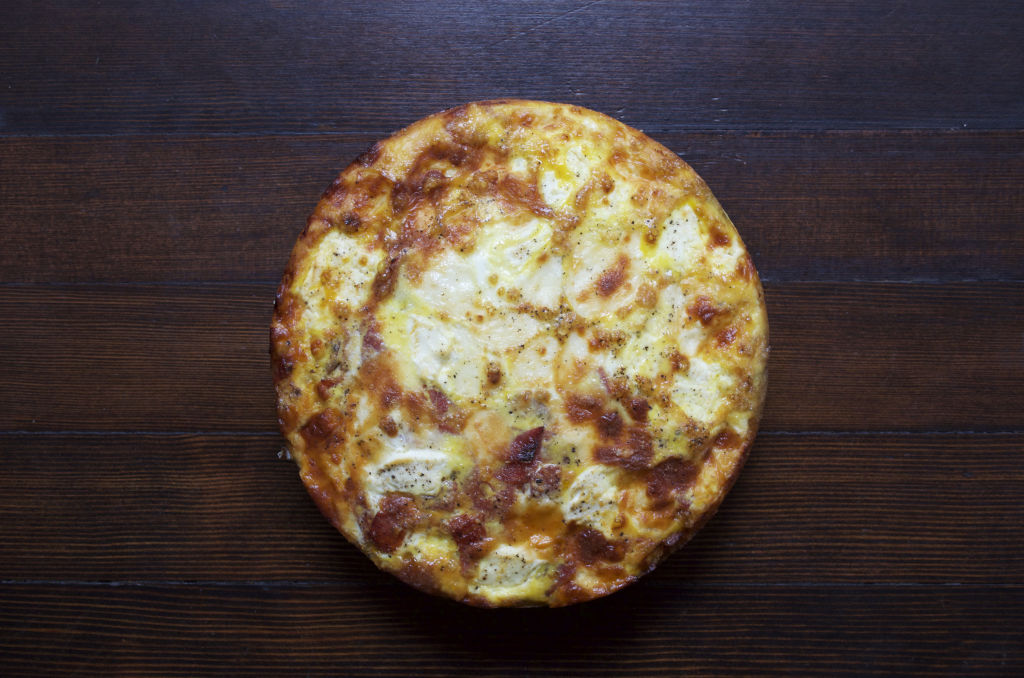
7. Bake in a 350 degree oven for approximately 40 minutes or until top is golden brown and the eggs are firm (if you shake the pan, there’s no jiggling in the center).

DSC_0798

DSC_0804

DSC_0813

DSC_0854

Flourless Brownies

I crave chocolate… a lot. There are a lot of options for flourless confections in the area but few have hooked me. I stumbled upon this gluten free brownie recipe and it was the most delicious baked good I’ve had in a long time. They have a fudge-like quality that’s to die for. We ate a couple at home and I brought the rest to work. They disappeared quickly and received a lot of compliments. I can’t stop thinking about them and need to make them again. Like right this second.

Flourless Brownies
(Recipe credit to life made simple)
6 Tablespoon unsalted butter
3/4 cup sugar
8 oz. semisweet chocolate, chopped
2 eggs, room temperature
1 teaspoon vanilla extract
1 Tablespoon unsweetened cocoa powder
3 Tablespoon cornstarch
1/4 teaspoon salt

DSC_0168

1. Preheat oven to 350 degrees. Line a 9×9″ square pan with foil and lightly spray with cooking oil, set aside.

2. In a small saucepan over low heat, melt the butter then then add the sugar. Once the sugar is mixed in well, add the chopped chocolate, stirring until smooth.

DSC_0180

DSC_0186

3. Remove the saucepan from the heat and add the eggs, one at a time, then the vanilla extract.

DSC_0175

DSC_0189

4. Using a mesh sieve, sift the cocoa powder and cornstarch into the saucepan, then add the salt.

DSC_0199

5. Stir together, then beat the batter for 1-2 minutes until it’s smooth and shiny.

DSC_0218

4. Pour the batter into the prepared pan and bake for 22-30 minutes or until the brownies are no longer jiggling in the center.

DSC_0229

5. Be careful not to over-bake (gooey brownies are the best)! Remove the pan from oven and let cool in the pan for 45 minutes before removing and slicing.  

DSC_0250

 DSC_0416

DSC_0424

Slow Cooker Chili

This recipe was Jason’s meaty chili from dinner last weekend. He absolutely loved it and my favorite part of it was how easy it was to make. I used vegetables and beef we got at the weekly farmers market in Jack London Square in Oakland. That market is on the smaller side, but they had all the fresh produce we needed and the ground beef came from Casa Rosa Farms.

Slow Cooker Chili
1 Tablespoon olive oil
2 lbs ground beef
1 medium yellow onion, diced
4 cloves of garlic, minced
1 medium green bell pepper, diced
3-4 stalks celery, diced
1 can (15-ounce) red kidney beans
1 can (15-ounce) cannelloni beans
1 (24-ounce) can diced tomatoes
1 (10-ounce) can of tomato puree
1 (4-ounce) can of chopped green chiles
2 chipotle chilis in adobo sauce, plus Tablespoon of sauce
1 Tablespoon ground cumin
1 Tablespoon chili powder
1 teaspoon oregano
1 teaspoon parlsey
1 teaspoon salt
1 teaspoon black pepper
Shredded cheese, tortilla chips, scallion pancakes, and sour cream

DSC_0026

DSC_0039

DSC_0055

1. Place beef, onion, and garlic in a skillet over medium heat and cook until brown. Drain half of the grease.DSC_0068

DSC_0088

2. Put beef on the bottom of the slow cooker and top with peppers, celery, beans,  diced tomatoes, tomato puree, chiles, chipotle chilis, and spices. Mix until combined.

DSC_0100

DSC_0139

DSC_0125

3. Cover and cook on HIGH for four hours.

DSC_0377  DSC_0364

Copyright © 2018. Powered by A & E Cyber Publishers.