Author - Allison

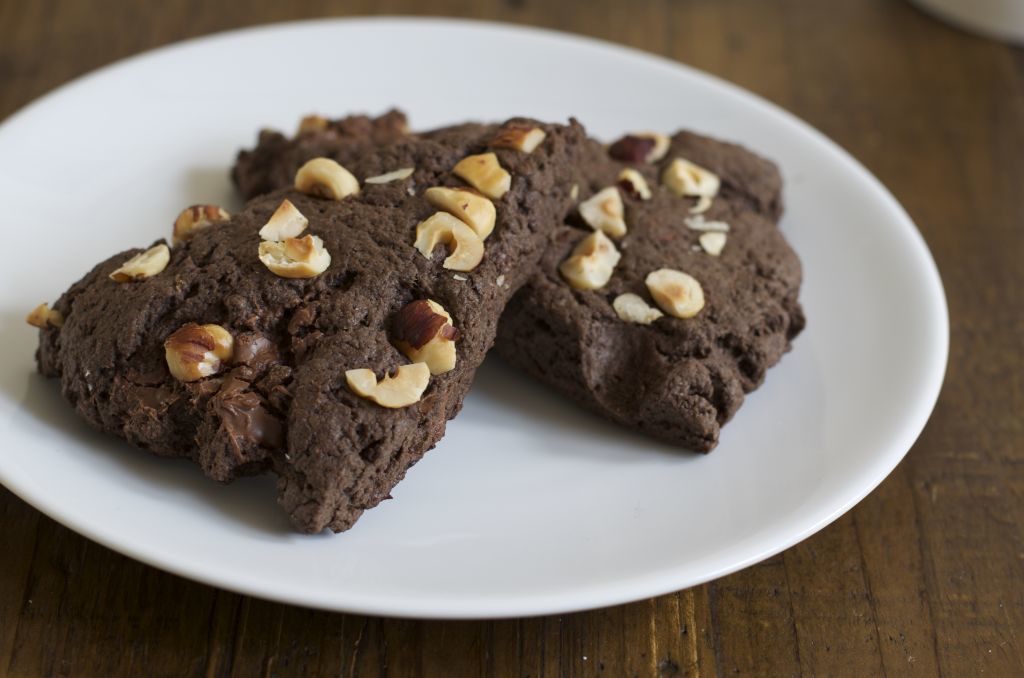
Chocolate and Hazelnut Scones

Four years have passed since my last attempt at making scones. Needless to say, they didn’t turn out very well that time around. From that point on they’ve always seemed so daunting in my mind. It’s the pressure of the perfect sandy texture when mixing the dry ingredients and butter before you dare add the wet ingredients. I’m never confident in this stage to know whether or not they’re going to turn out well.

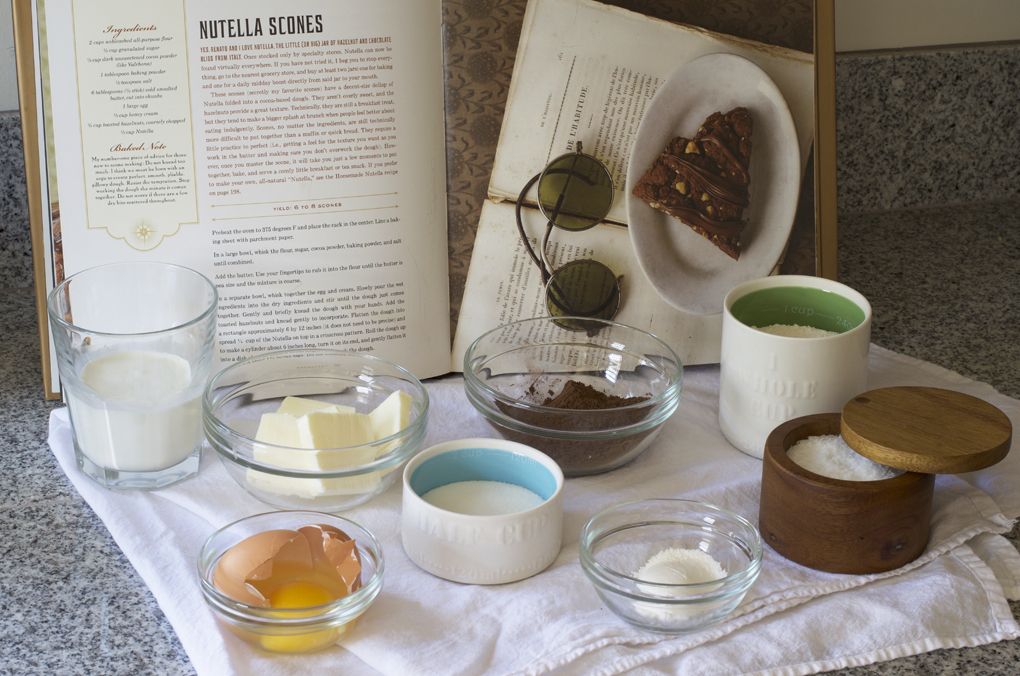
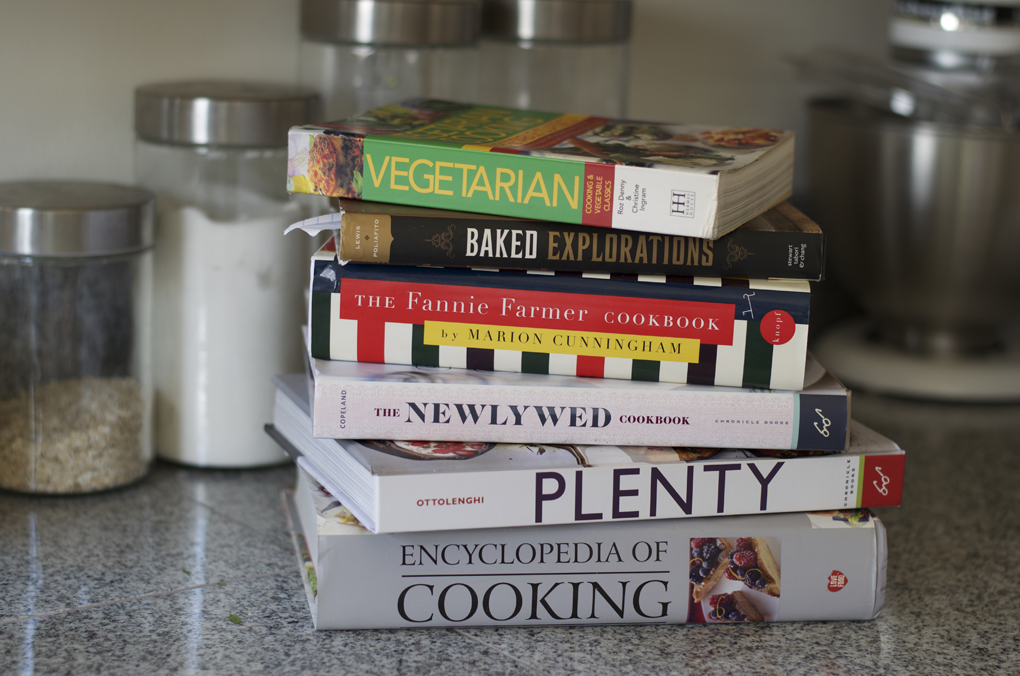
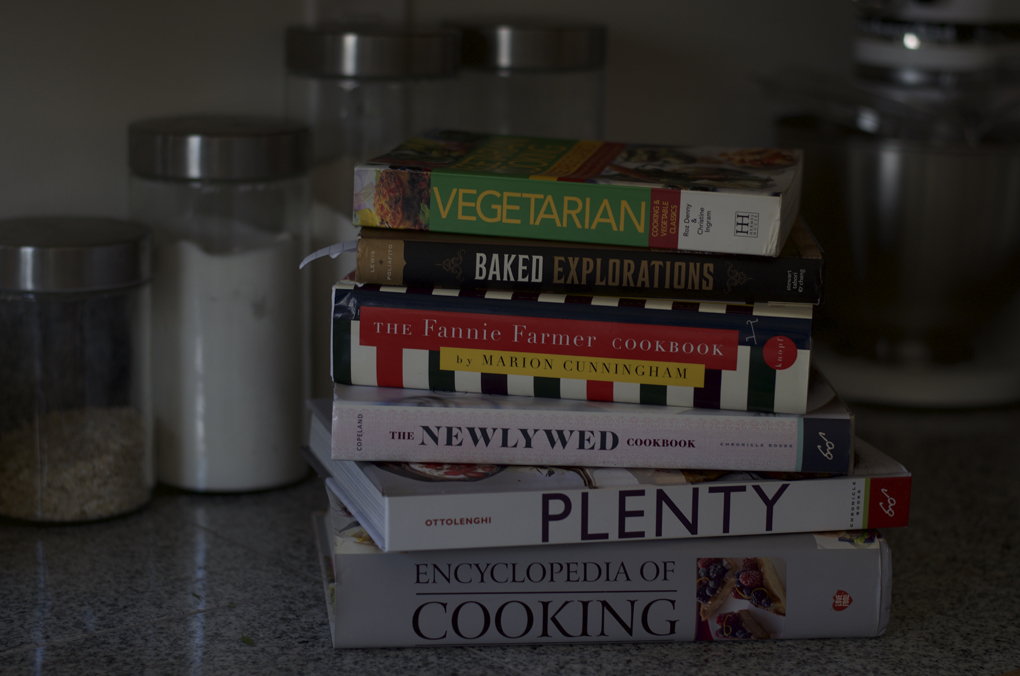
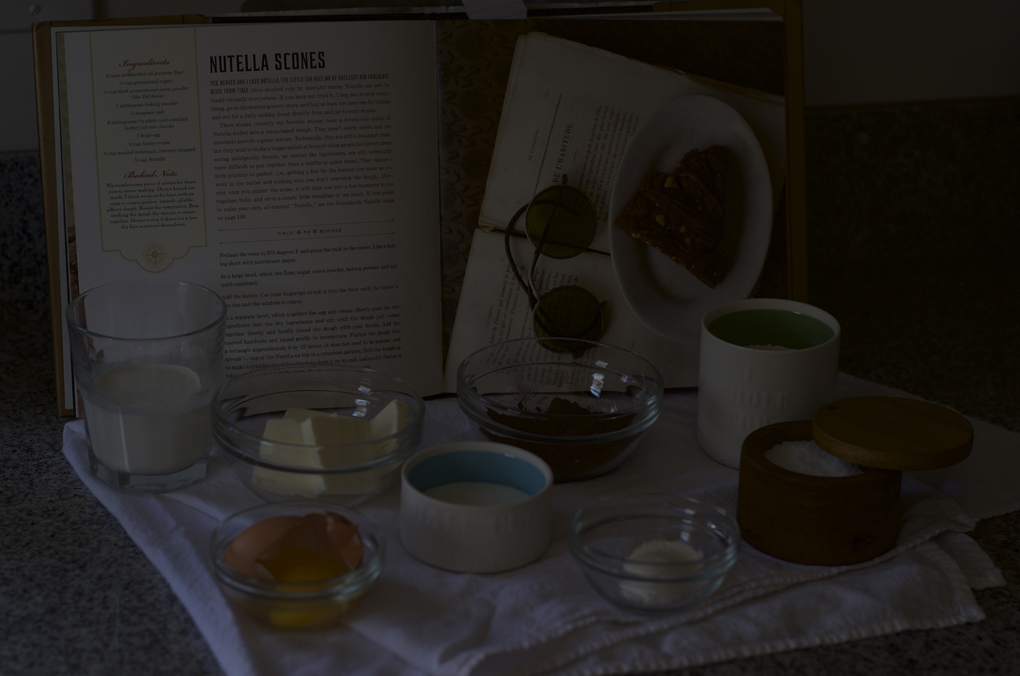
I used a recipe from Baked Explorations, a cookbook that I’ve had since 2011. It’s a gorgeous book and full of great tips, wonderful photography, and is also home to a trusty coffee cake recipe. I’ve been blessed with wonderful desserts because of that book that I decided to be faithful in their scone instructions.

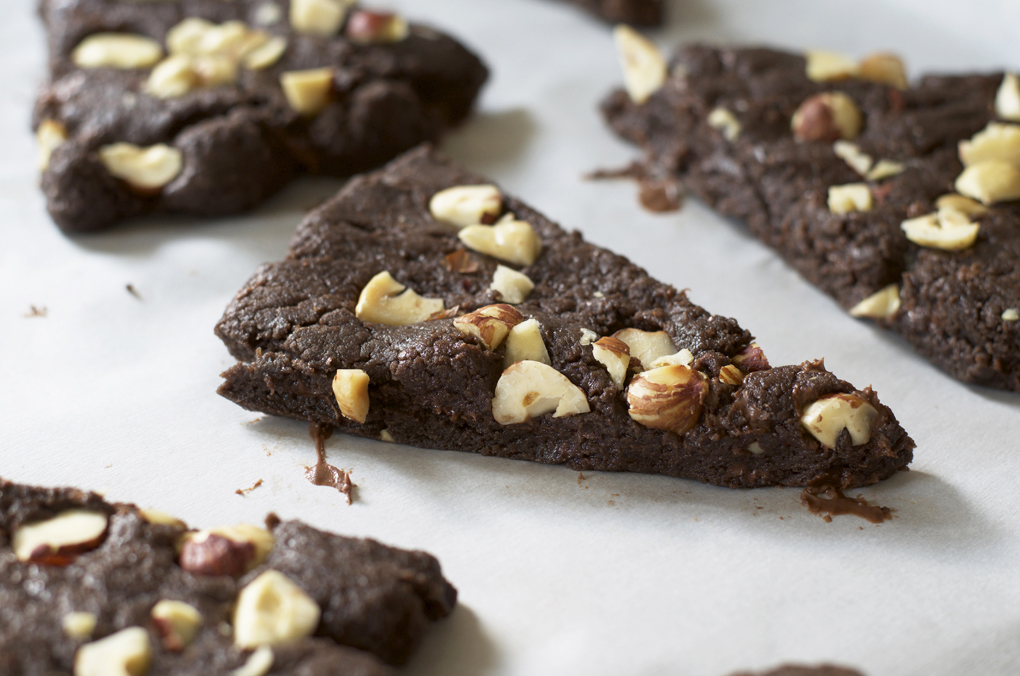
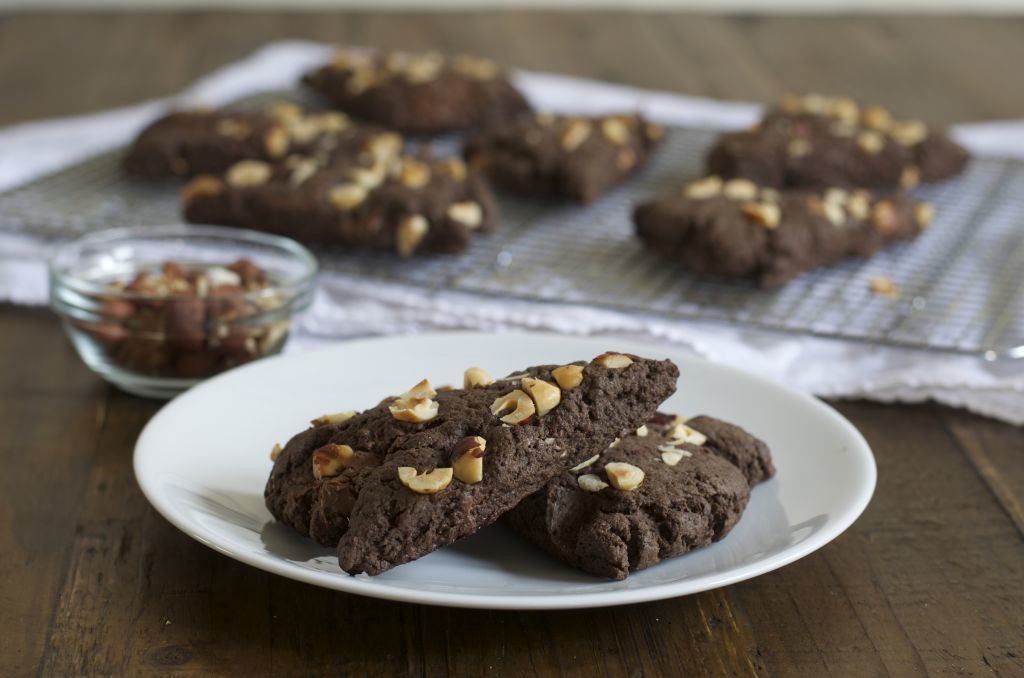
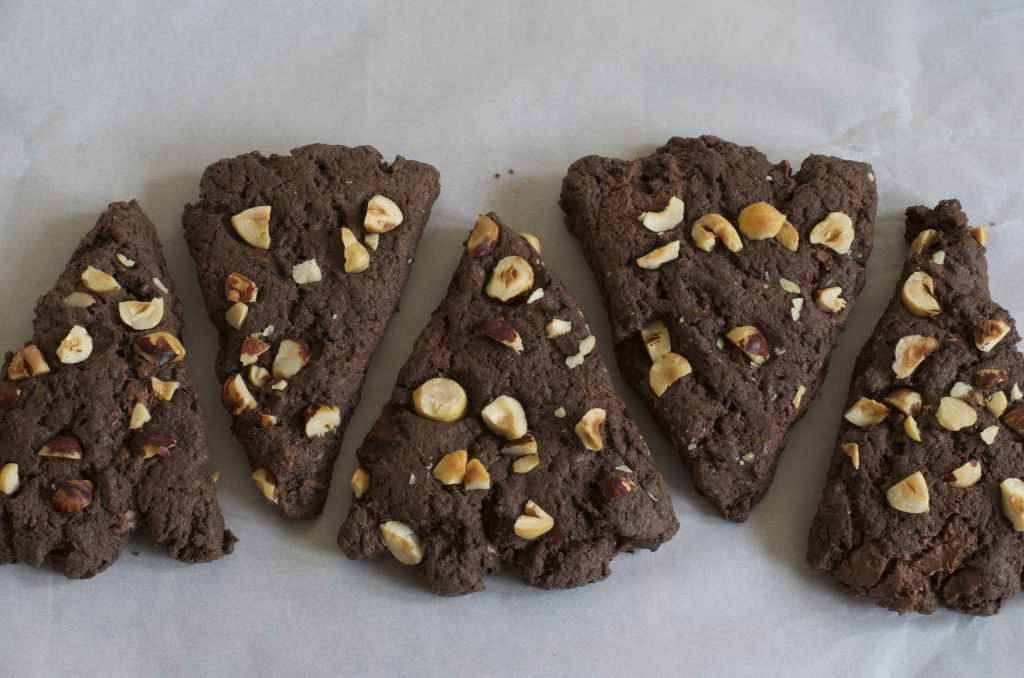
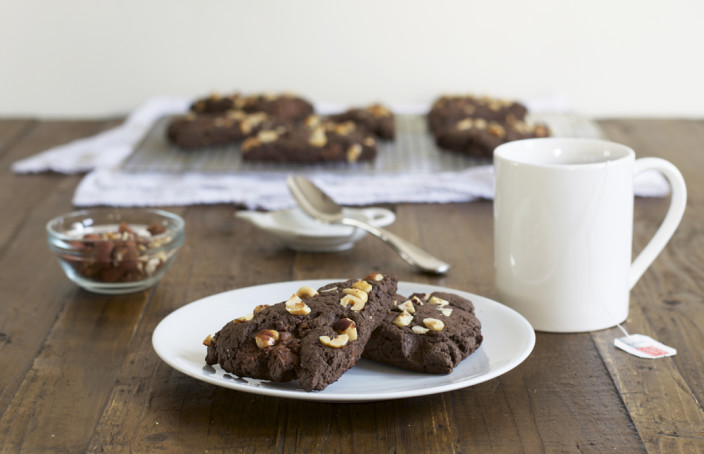
The scones came out beautifully! Jason said they were light and airy and complemented coffee and tea perfectly. Great job Baked Explorations, you did it once again.

Chocolate and Hazelnut Scones
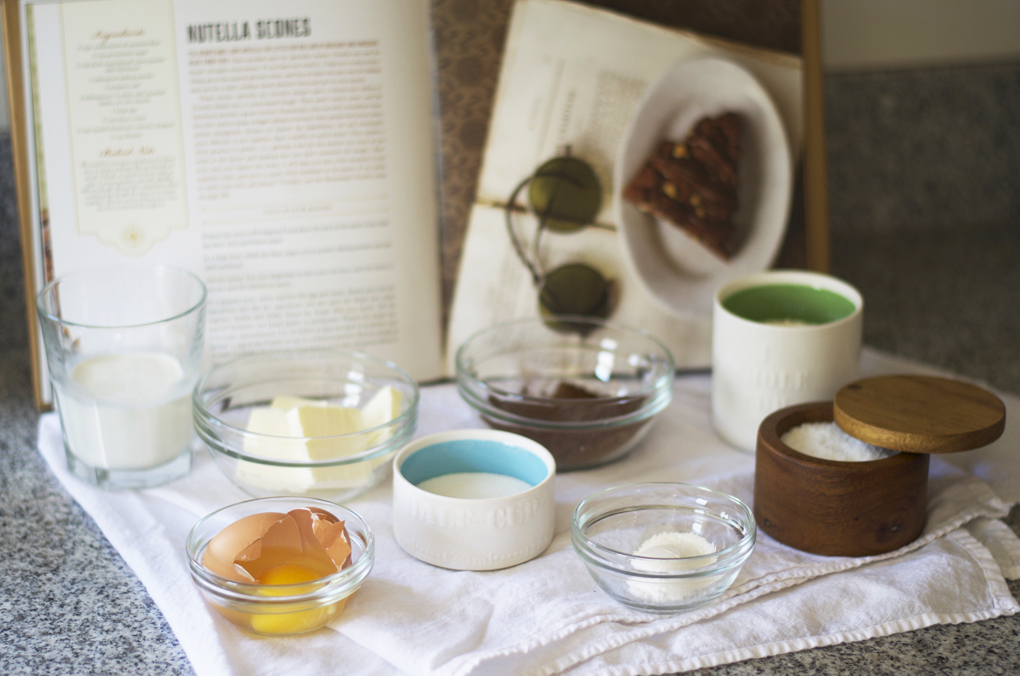
2 cups all-purpose flour
1/4 cup sugar
1/4 cup dark sweetened cocoa powder
1 Tablespoon baking powder
1/2 teaspoon salt
6 Tablespoons cold unsalted butter, cut into chunks
1 large egg
1/2 cup heavy cream
3/4 toasted hazelnuts, coarsely chopped
1/2 cup Nutella
DSC_0471

1. Preheat the oven to 375 degrees F and place the rack in the center.  Line a baking sheet with parchment paper.

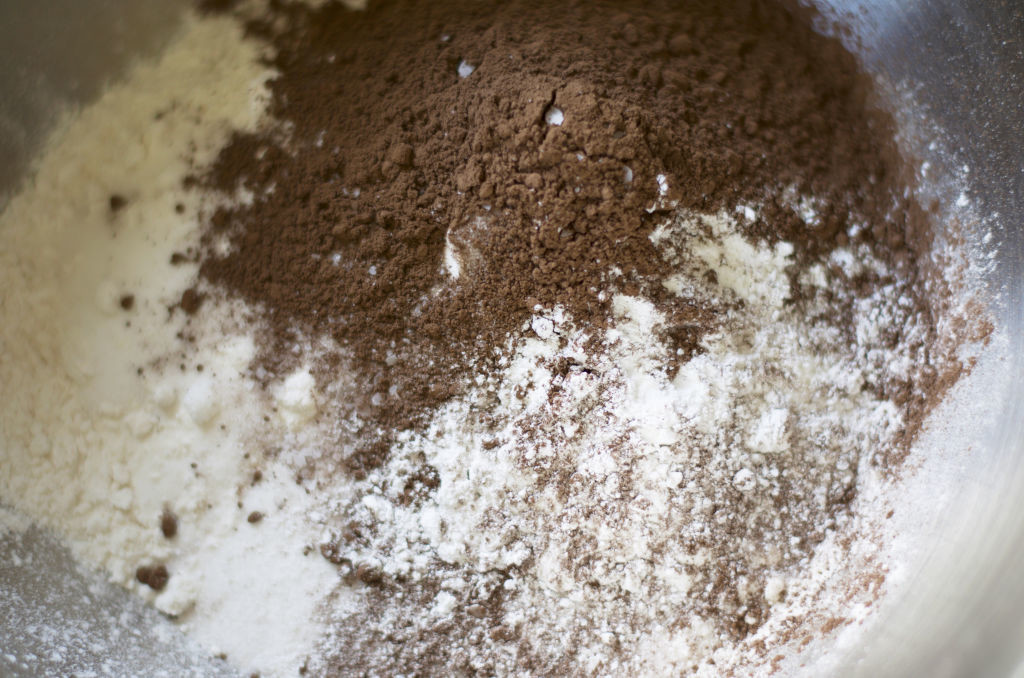
2. In a large bowl, whisk the flour, sugar, cocoa powder, baking powder, and salt until combined.
DSC_0478

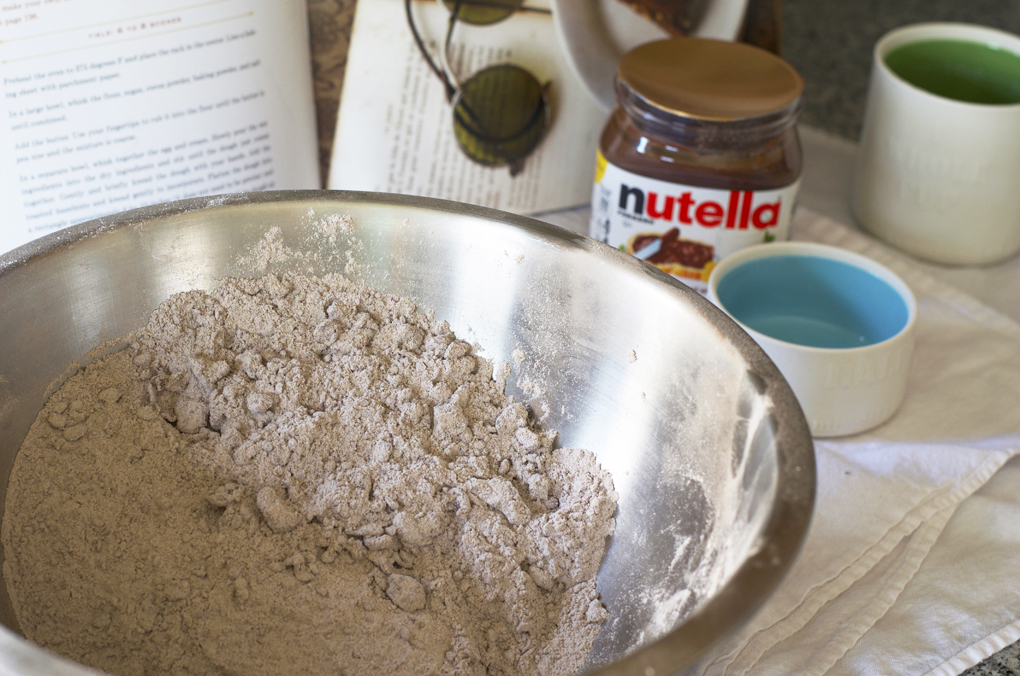
3. Add the butter. Use your fingertips to rub it into the flour until the butter is pea size and the mixture is coarse.
DSC_0485
4. In a separate bowl, whisk together the egg and cream.

5. Slowly pour the wet ingredients into the dry ingredients and stir until the dough just comes together.  Gently and briefly knead the dough with your hands.

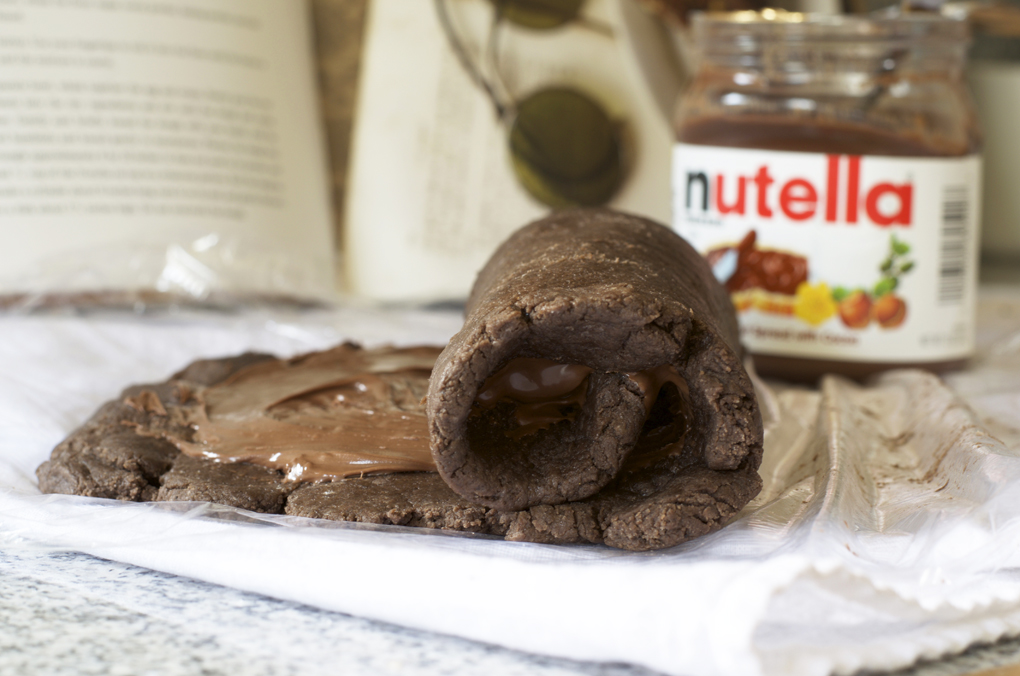
6. Flatten the dough into a rectangle approximately 6 by 12 inches. Evenly spread the Nutella over the dough.

DSC_0502

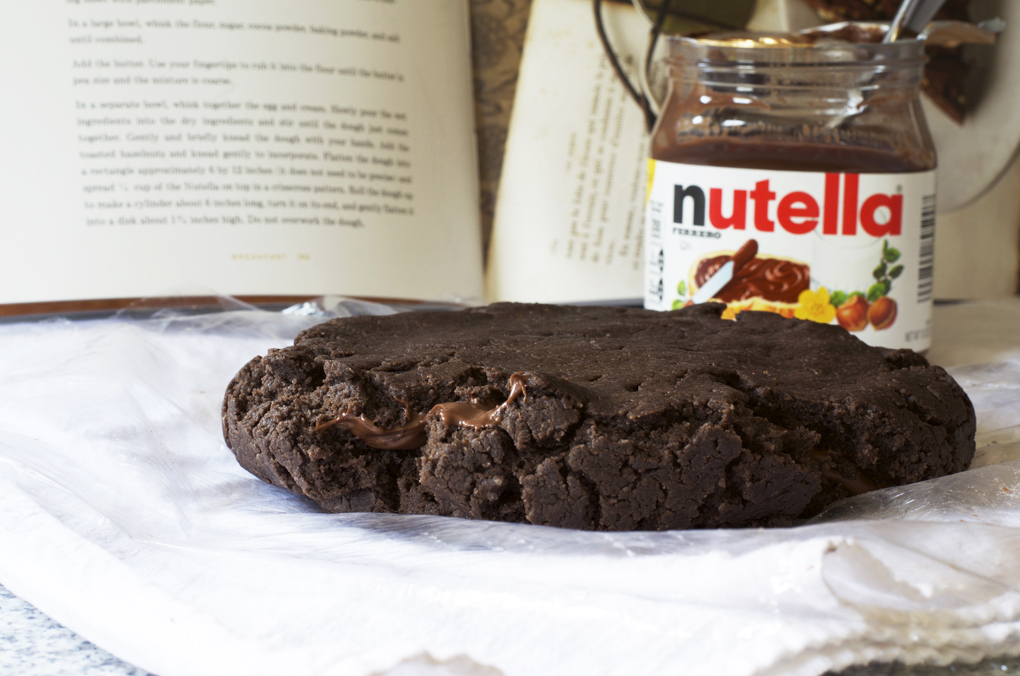
7. Roll the dough up to make a cylinder about 6 inches long, turn it on its end, and gently flatten it into a disk about 1 3/4 inches high. Do not overwork the dough.
DSC_0510

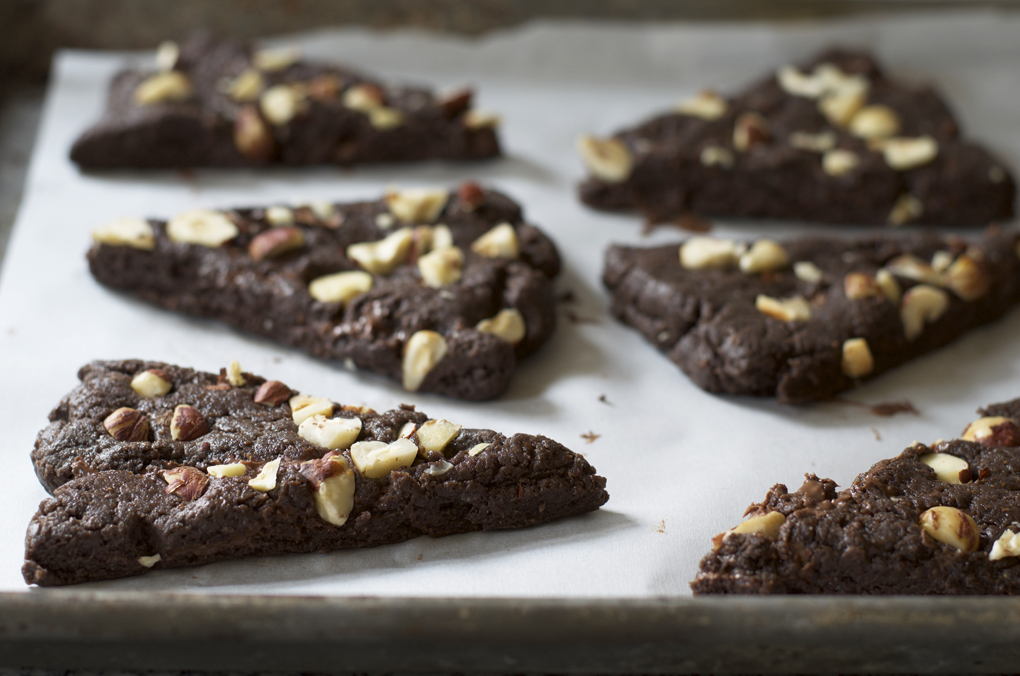
8. Cut the dough into 6 or 8 wedges and place them on the prepared baking sheet. Top with toasted hazelnuts and slightly press in so they don’t fall out.
DSC_0516

DSC_0520

9. Bake the scones for 18-20 minutes, rotating the baking sheet halfway through, or until a toothpick inserted into the center of a scone comes out clean.  Do not over bake.
DSC_0580

10. Transfer the scones to a wire rack to cool completely.  Place the baking sheet with the parchment still on it underneath the rack.

DSC_0559

DSC_0541

* * * * * *

Jason got me a new lens for my birthday and then I purchased a tripod a couple weeks ago. These have been picture-taking saviors! I tested them both out on this recipe and realized what a difference they make.

The tripod allows me to lower the shutter speed to let more light into the photo. Without it, I’m not able to do bring the shutter speed lower than 1/80 because the pictures will come out blurry. Humans can’t really hold a camera without interfering with the quality of the picture at a shutter speed slower than that. Here are two set ups with and without using the tripod.

With tripod:

DSC_0453

Without tripod:

DSC_0455

With tripod:

DSC_0461

Without tripod:

DSC_0464

Before the tripod/new lens I had to search around the house for the perfect lighting. This is not conducive to quick cooking and not always ideal when you have a hungry husband. The tripod and lens are great time savers and also take some pretty neat pictures!

Sweet and Savory Chicken Salad

Meal number two from the chicken stock post! This lasted four days and it was so good I could eat it for breakfast… and I may have. What really set it apart from other recipes were the perfect grapes I found. They were sweet and crisp and exactly what I needed to sweeten something that’s usually pretty savory. I pulled inspiration for this from a deli in San Francisco that makes its chicken salad with almonds and grapes and I fell in love with it.

I’m spending this week in New Jersey visiting family and friends and I plan on making this at home and seeing if I can convert my parents into liking this kind of chicken salad. Fingers crossed — or maybe not, if they don’t like then more for me!

Sweet and Savory Chicken Salad
Meat from one whole chicken (2 breasts, 2 wings, 2 thighs)
1/2 cup mayonnaise
1/2 cup sour cream
1 Tablespoon lemon juice
1 Tablespoon brown sugar
3 stalks celery
2 cups grapes, quartered
1/2 cup slivered almonds
Salt and pepper to taste

1. Bring large stock pot of water to a boil. Add chicken and reduce to a simmer. Cook until chicken is done, approximately 40-45 minutes.


DSC_0029

2. Remove the chicken and shred apart with two forks. Remove the skin and use only the meat.

DSC_0039

3. Combine mayonnaise, sour cream, lemon juice, and brown sugar in a small bowl. Add to the chicken.

DSC_0051

4. Combine chicken with grapes and celery.

DSC_0047

5. Top with slivered almonds and carefully toss.

DSC_0065

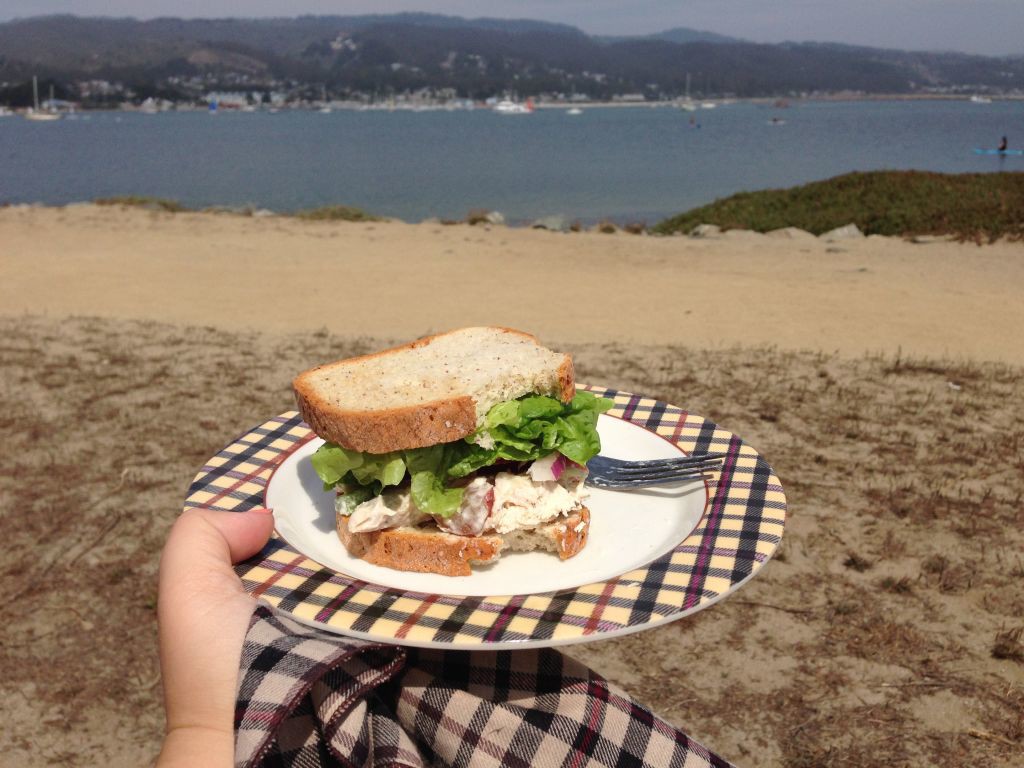
6. Enjoy at the beach!

IMG_9037

Slow Cooker Chicken with Creamed Spinach

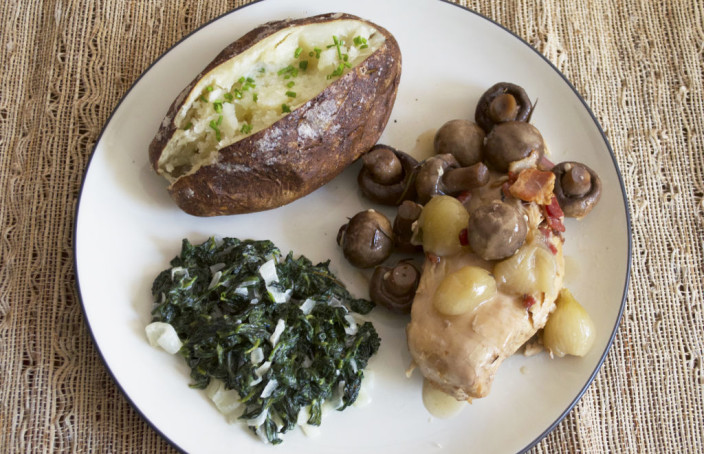
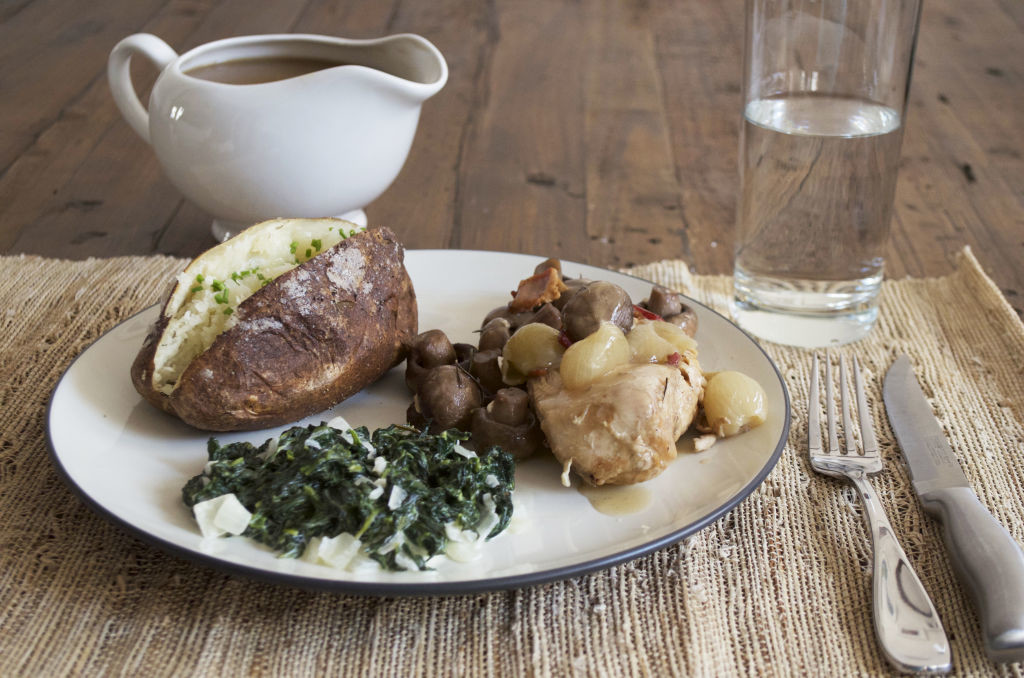
This is one of the three dishes I made from the two chickens last weekend. It came out great, but I forgot to turn the crock pot off and it cooked for closer to four hours. The chicken turned out a little dry so I made a gravy with the drippings and that helped quite a bit. I think you can cook this for closer to 3 hours on high and it should be fine.

The gravy in the dish gives it a nice creamy texture, but without any dairy. I made up for that with the spinach side though, you can half the heavy whipping cream and use a soft mascarpone cheese instead if you prefer. I also made a baked potato with a a salt and pepper crust and it was to die for. Who doesn’t love a crispy salty potato crust? Throw some chives from the garden in there and you’ve got yourself a winner.

P.S. Double triple this spinach recipe for your own good because it’s real tasty and you’re going to want a lot more if you’re cooking for more than one night or more than two people.

DSC_0142

Slow Cooker Chicken with Creamed Spinach
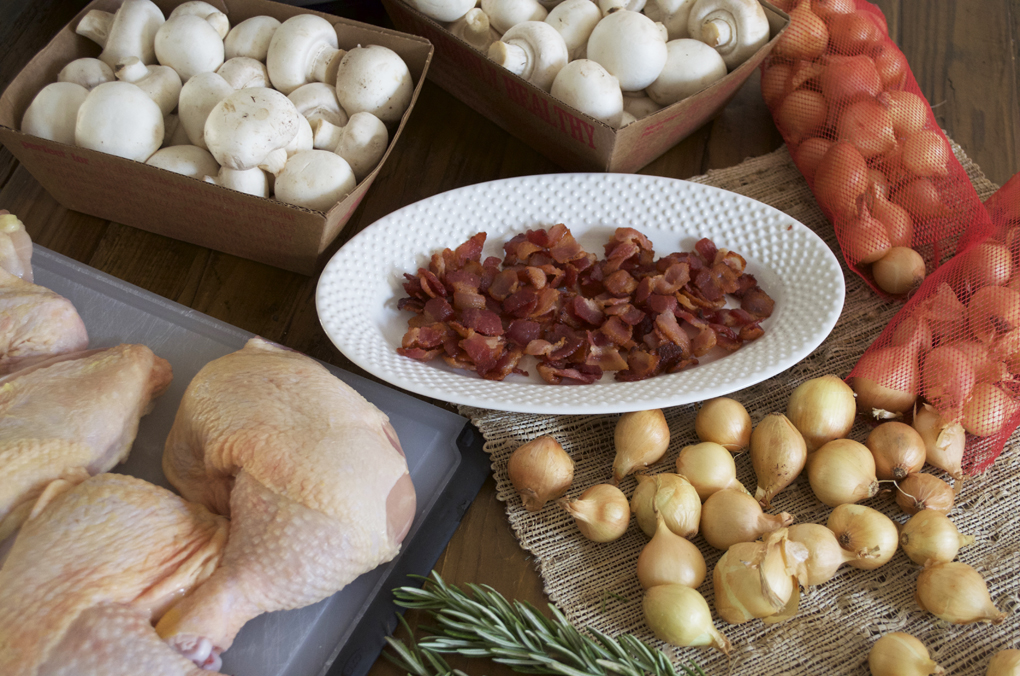
1 Whole Chicken, wings, breasts, and thighs
1/2 lb bacon, sliced into 1/2 inch strips
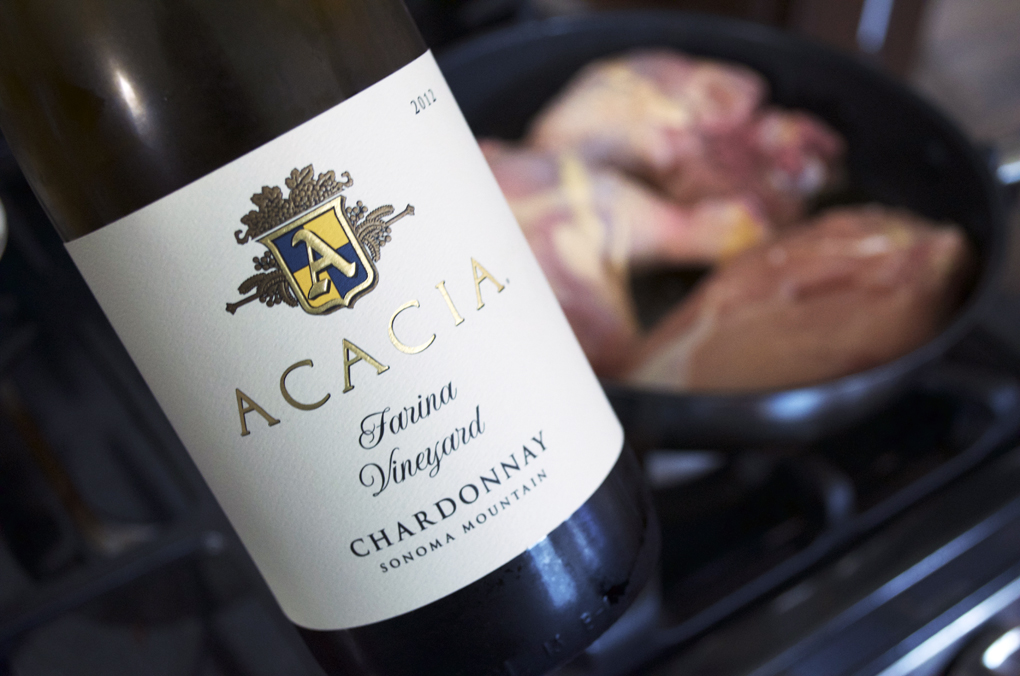
1/2 cup dry white wine
1 lb pearl onions, peeled
1 lbs white mushrooms
4 garlic cloves, chopped
3 sprigs fresh rosemary
Salt and pepper
1/4 cup warm water
2 tablespoons cornstarch

DSC_0974

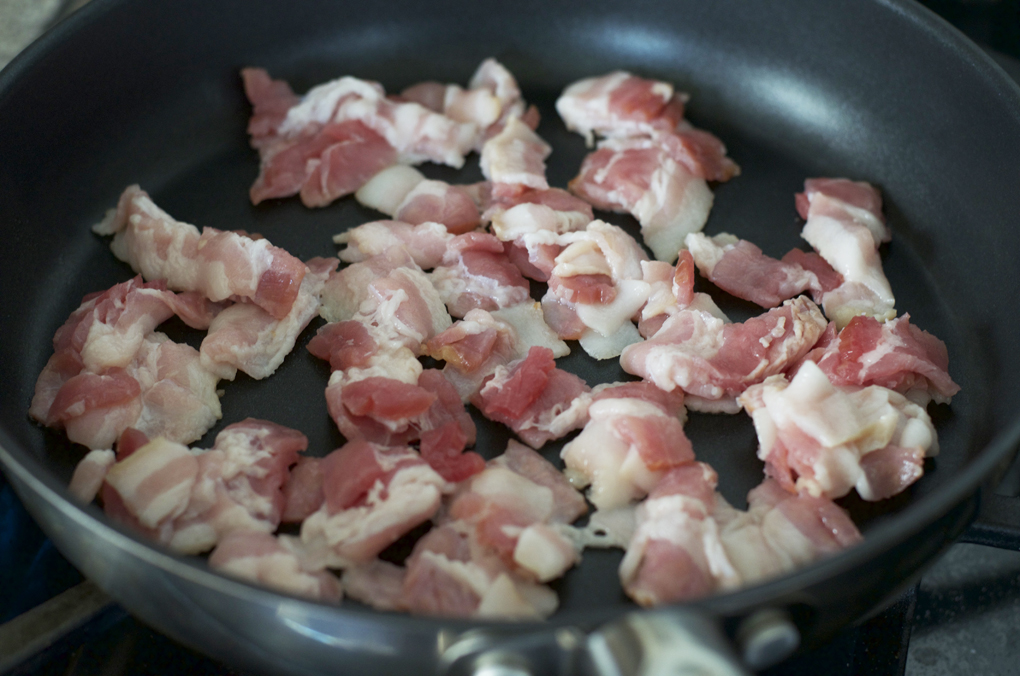
1. Cook the bacon in a large skillet until crispy. Remove from the skillet and transfer to a slow cooker.

DSC_0908

2. Add the chicken to the bacon fat and brown on both sides. Transfer the chicken to the slow cooker. 3. Pour the wine into the skillet and bring to a boil. Pour the mixture over the chicken. Add the mushrooms, onions, garlic, rosemary, and salt to the slow cooker.

DSC_0986

4. Cover and cook for 3 hours on high.

5. Transfer the chicken, mushrooms, and onions to a serving dish and pour sauce into a small saucepan. Combine the water and cornstarch and then slowly pour into the sauce. Bring to a boil and stir until the gravy thickens. Pour over the chicken and serve.

Creamed Spinach
2 lb baby spinach, stems removed
2 Tablespoons unsalted butter
1/4 cup onion, finely diced
1/2 cup heavy cream
1/2 cup Parmigiano-Reggiano cheese, grated
1/2 teaspoon ground nutmeg

DSC_0097

1. Bring a pot of water to a boil and add spinach, cook for 2 minutes. Remove spinach from the water and transfer to an ice bath to stop the cooking and keep bright green color.
DSC_0105

2. Wipe out the saucepan and add the butter, heat until it melts. Add the onion and salt, cook down until the onions have softened. Add the spinach, cream, cheese, and nutmeg. Cook until the cream has cooked down a big and the cheese has fully melted.

DSC_0150

2 Chickens, 3 Dishes, 12+ Meals

I took a leap and make homemade chicken stock last weekend. It took four hours for it to cook down and I couldn’t wait to try it. I almost had a bowl of stock on the spot. Even though they’re very simple ingredients, this is packed with flavor. Since most soups call for at least 2-4 cups of canned or boxed chicken stock they always have an overly salted artificial flavor. I’m going to use the homemade stock for soup this week and I’m thrilled to see the difference it makes.

We bought two chickens for this and I used the meat for two separate dishes then the bones and leftover parts for the stock. If you include the impending soup, these two chickens made 3 dishes and 12+ meals! Love it. Thank you to the lovely Ina for this stock recipe.

Homemade Chicken Stock
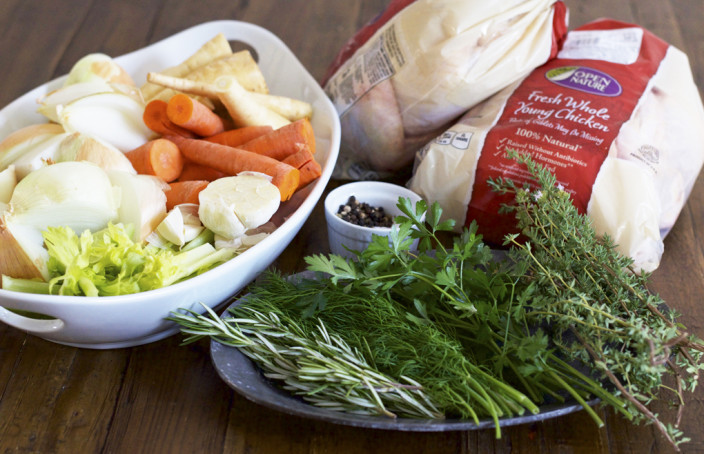
Bones and trimmings of 2 young chickens
3 yellow onions, unpeeled and quartered
6 carrots, unpeeled and halved
4 parsnips, unpeeled and halved
4 stalks celery, halved with leaves
5 sprigs rosemary
10 sprigs dill
10 sprigs parsley
10 sprigs thyme
1 head of garlic, unpeeled cut in half
2 Tablespoons kosher salt
2 Teaspoons whole black peppercorns

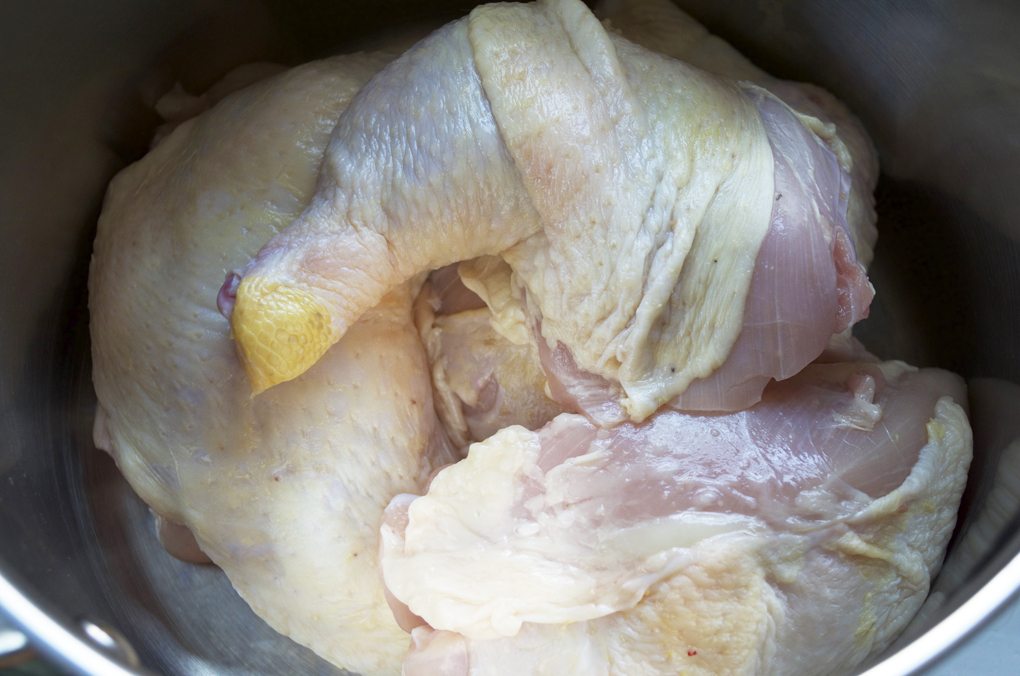
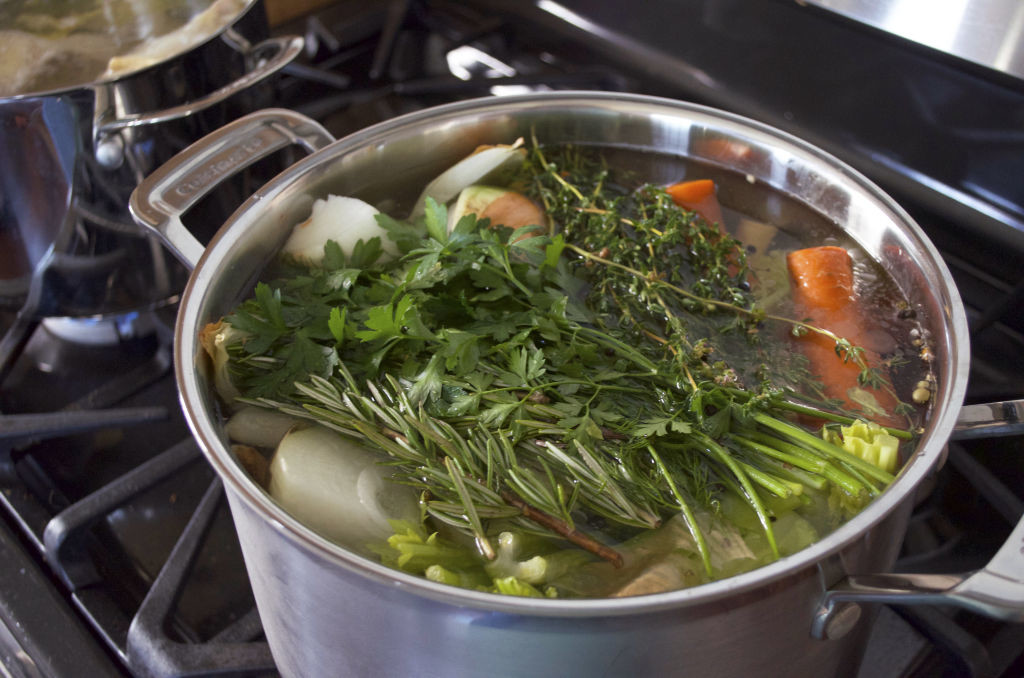
1. Place chicken in the bottom of a large stockpot, place veggies and herbs on top and sprinkle with the salt and pepper.

DSC_0943

2. Add 24 cups of water and bring to a boil. Simmer uncovered for four hours until everything has cooked down.DSC_0007

DSC_0122

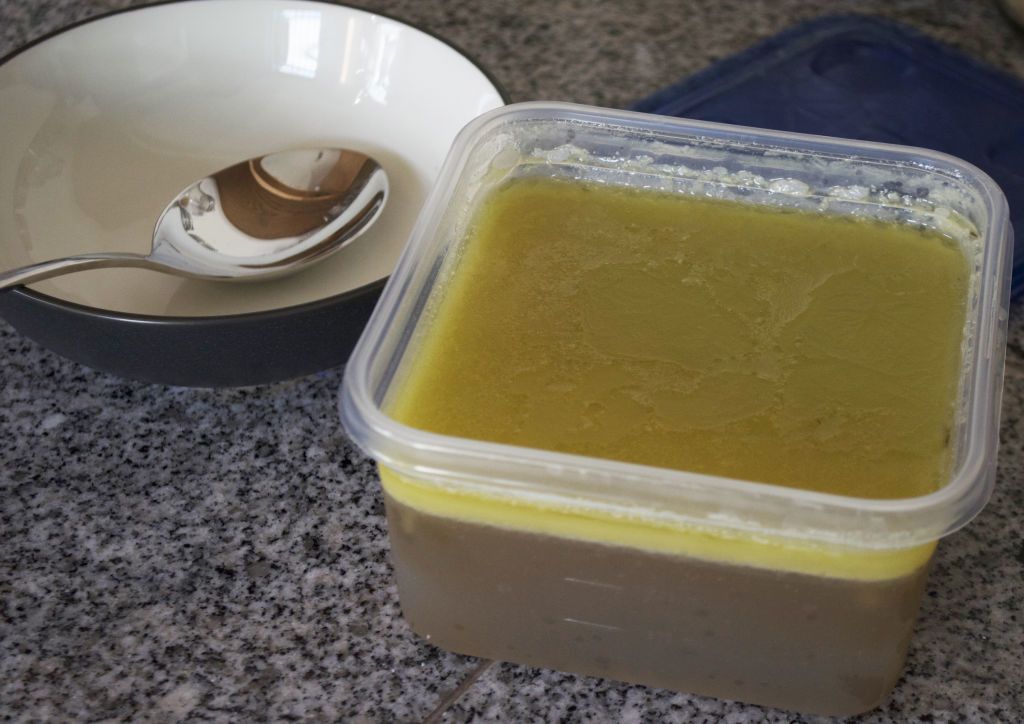
3. Strain the veggies, chicken and herbs out of the stock and place into freezer safe containers. Refrigerate the stock overnight so the fat rises to the top of the container.

DSC_0158

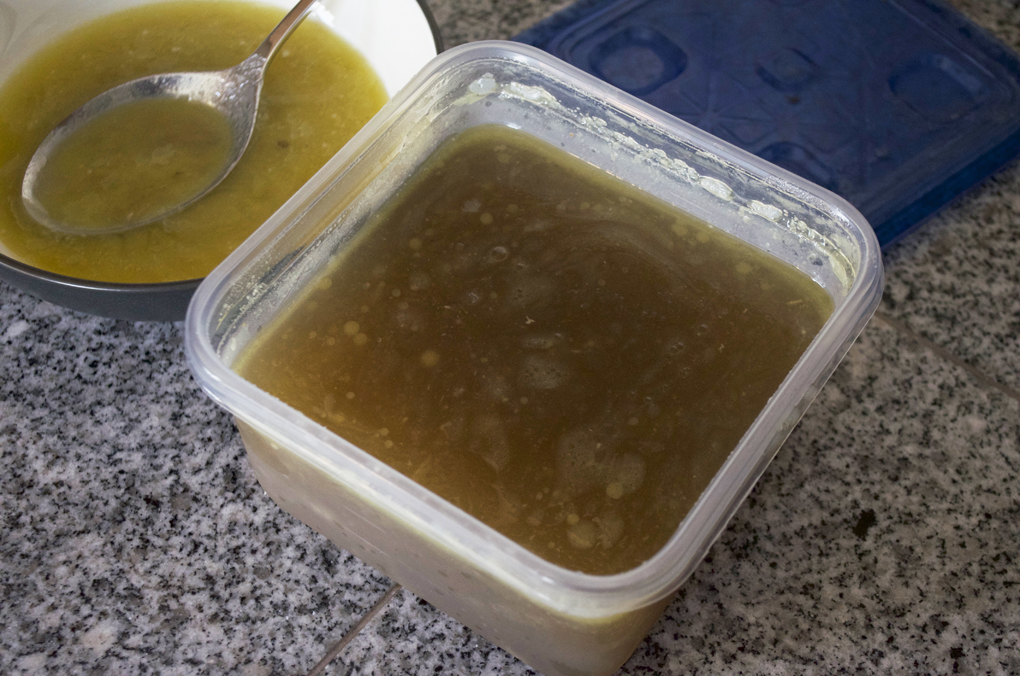
4. Skim off the fat and place in the freezer for up to 3 months!

DSC_0167

DSC_0171

No Bake Nutella Cheesecake

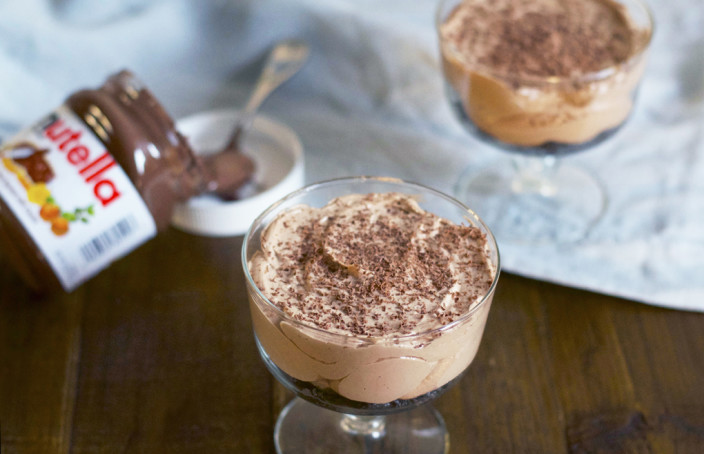
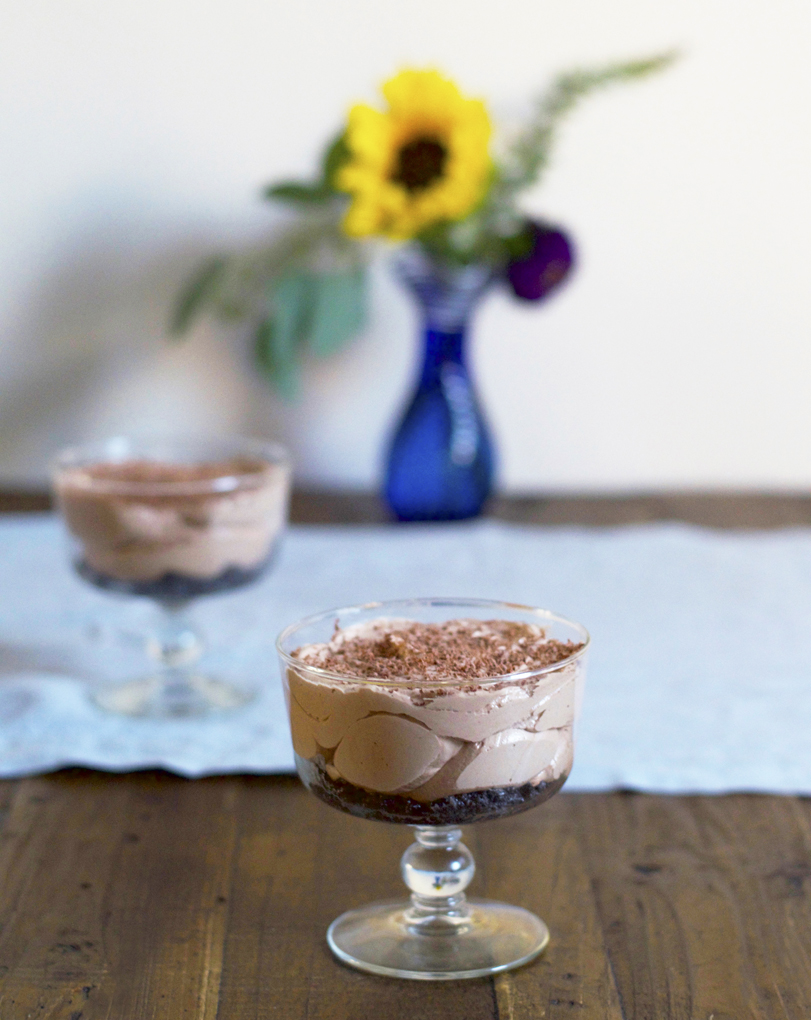
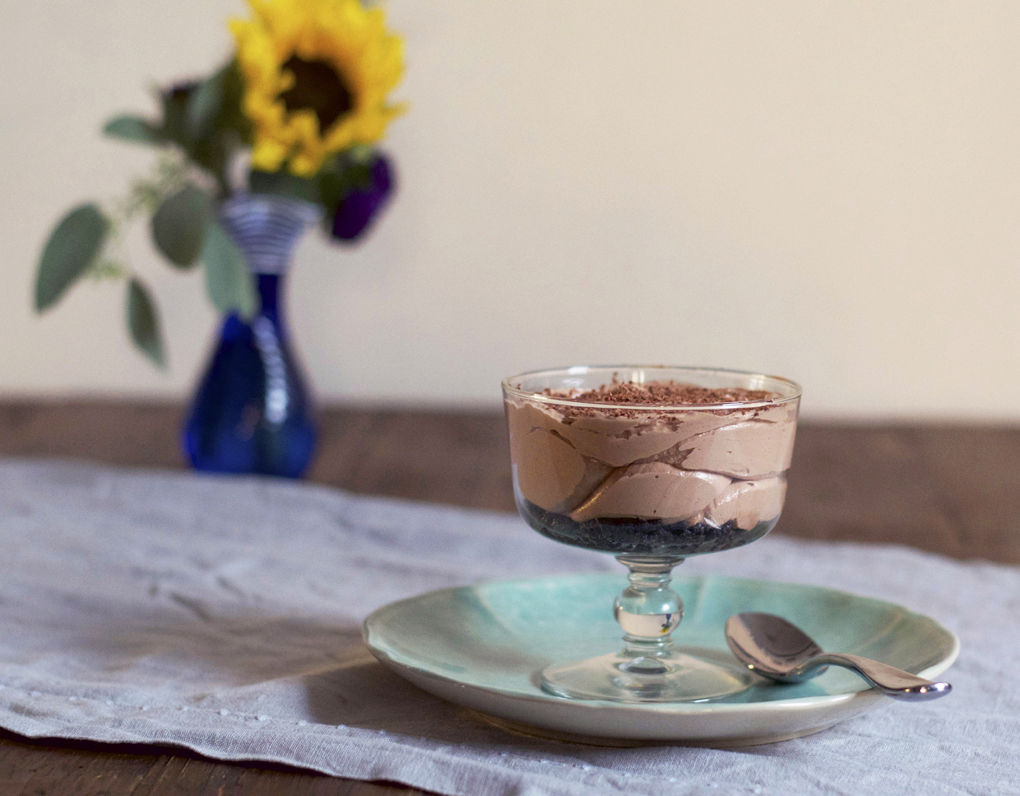
Whenever we go to the grocery store together, Jason typically finds a way to sneak between one and six jars of Nutella into the cart. He finds it hysterical. I consider it an addiction. When he was working in Texas for two weeks, I knew I wanted to make him a Nutella-based dessert upon his return. This was the recipe I decided on because it’s been incredibly warm in Oakland the past few weeks and turning the oven on doesn’t really appeal to me.

DSC_0205

No Bake Nutella Cheesecake 
(Recipe credit to mybakingaddiction)
12 Gluten Free “oreo” cookies
3 Tablespoons unsalted butter, melted
1 8-ounce package cream cheese, room temp
2/3 cup Nutella
1 teaspoon vanilla extract
1 8-ounce tub Cool Whip
Shaved bittersweet chocolate, for topping

DSC_0143

1. Place cookies in a food processor and pulse until they’re even crumbs. Stir them together in a small bowl with the melted butter. Evenly distribute into serving dishes (I used three) and push them down to form a crust.

2. In a standup mixer, combine the cream cheese and Nutella until smooth. Add the vanilla and mix again, then fold in the Cool Whip.

DSC_0167

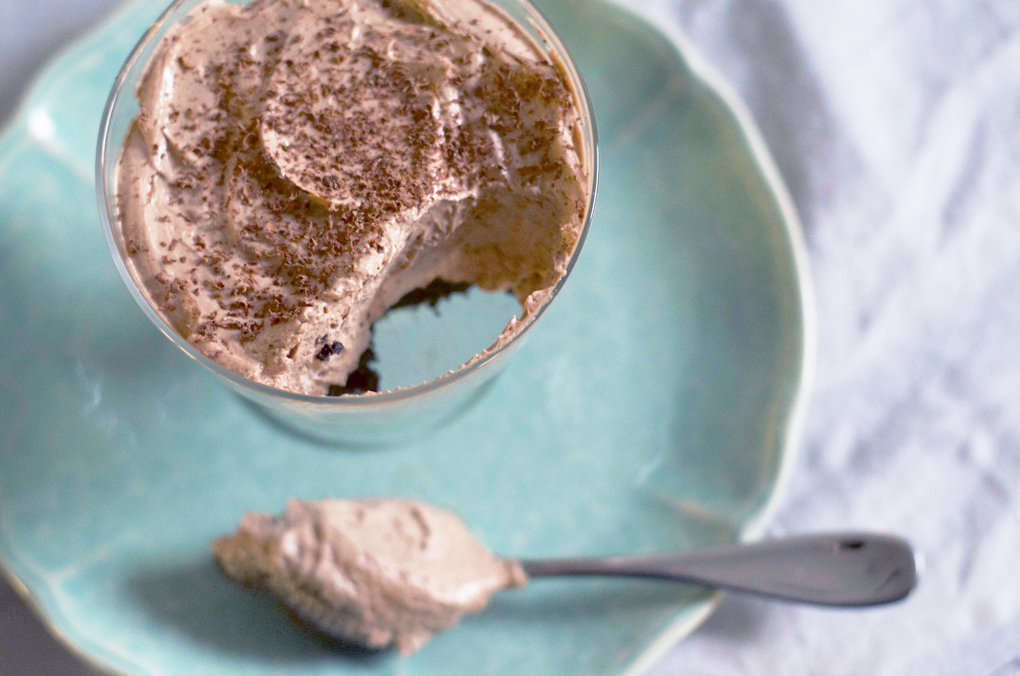
3. Evenly distribute the cheesecake mixture into each serving dish and top with shredded chocolate.

DSC_0272

4. Refrigerate for at least 1 hour before serving. Or, if you’re like Jason, eat immediately and wish you had more.

DSC_0289

Copyright © 2018. Powered by A & E Cyber Publishers.