Category - Recipe

Garden Cauliflower Soup

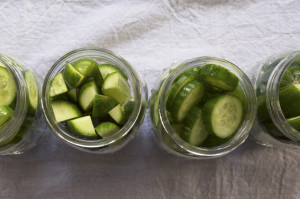
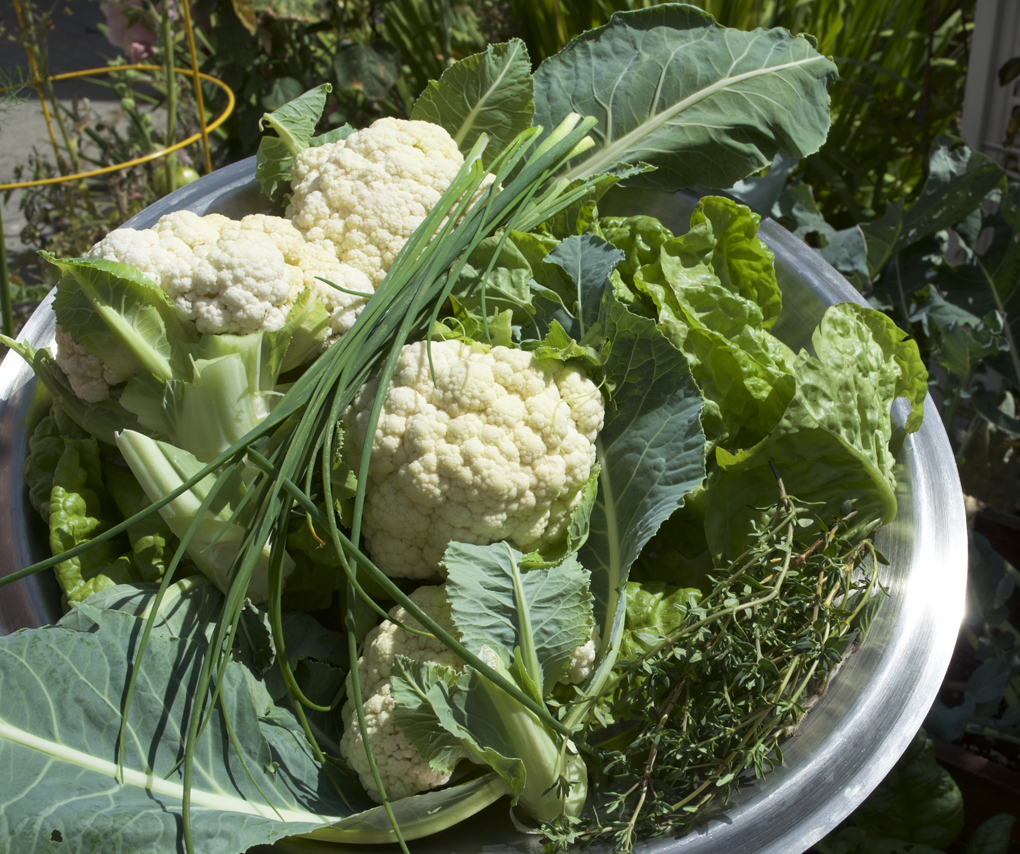
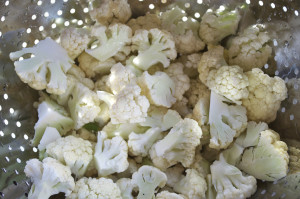
The cauliflower in the garden is doing pretty well considering it usually only flourishes in consistently cool weather. We had about four small/medium sized heads that we could harvest this weekend which was incredible. I wanted to use them as soon as possible to capitalize on the freshness so I made some soup with the florets.

DSC_0043

DSC_0066

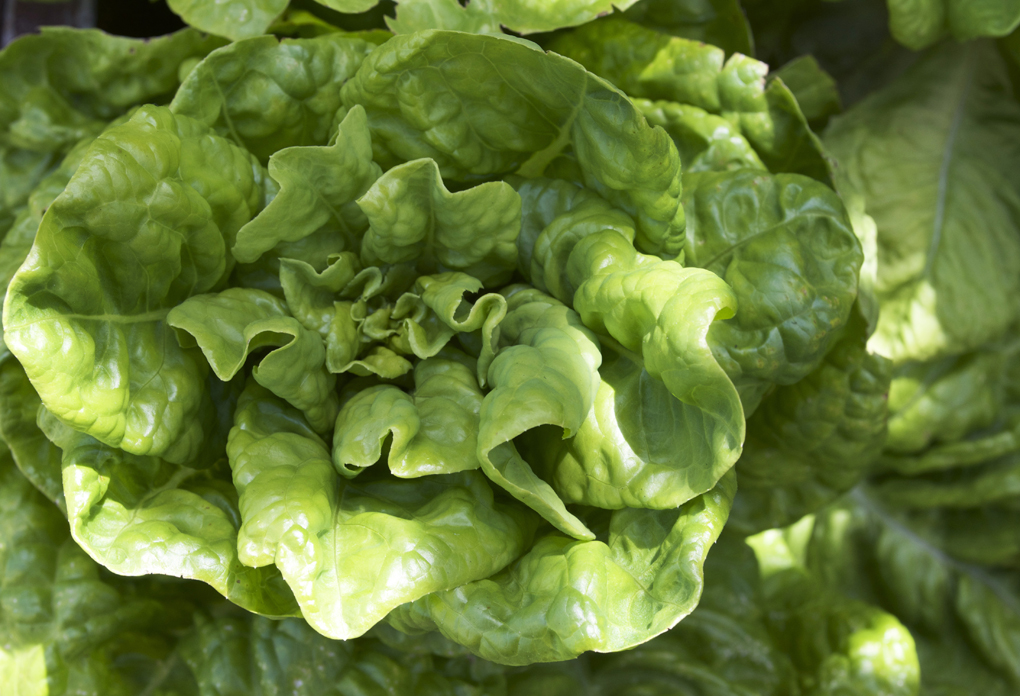
We also had an entire head of butter lettuce — slightly covered in slugs, but delicious nonetheless.

DSC_0064

DSC_0039

DSC_0081

Garden Cauliflower Soup
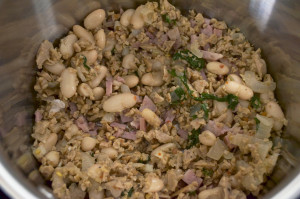
4 links of hot chicken sausage
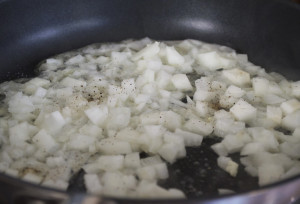
1 small vidalia onion, diced
4 cloves garlic, minced
1/4 cup cornstarch
1 32 oz box of chicken broth
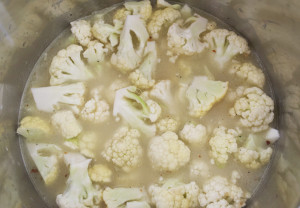
4 small heads of cauliflower, cut into florets
1 1/2 cups of heavy cream
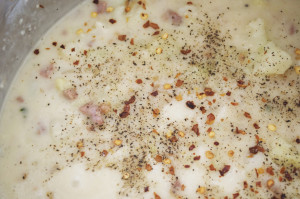
1 teaspoon chili flakes
Salt and pepper
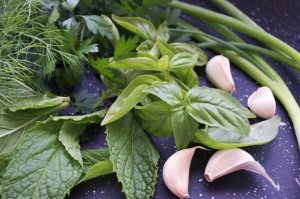
Cheddar cheese and parsley for serving

1. Remove the skins from the sausages or pulse in a food processor until they’re in bite size pieces. In a large soup pot brown the sausage. Set aside.

DSC_0134

2. Add cornstarch to the pot and whisk in a little bit of olive oil if more fat is needed. Gradually whisk in the chicken broth. Add the cauliflower and bring to a boil.

DSC_0141

3. While the stock and cauliflower are coming to a boil, sauté onions in a separate pan with a dash of olive oil, salt and pepper. Then them sweat and caramelize.

DSC_0182

DSC_0189

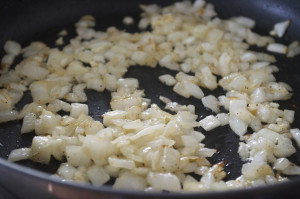
4. Add the onions to the cauliflower and reduce to low heat to simmer for 25 minutes.

DSC_0177

3. When the cauliflower is tender, stir in the sausage, cream, chili flakes, and a touch more salt and pepper. Cook for another 5-10 minutes so the sausage can heat up again.

DSC_0209

4. Serve with cheese and parsley.

DSC_0232

DSC_0247

Pickles!

There are always pickles in the refrigerator in our house. Home from work and need something to tie you over until dinner? Eat a pickle. Finished lunch but it wasn’t quite filling enough and you’re hungry an hour later? Eat a pickle. Purchased 12 mason jars and want to figure out how to start canning? Eat Make a pickle.

I really enjoyed this pickling process and it’s very customizable. It’s a bit time consuming, but not difficult. The hardest part is waiting to see if they’re good! I plan to open the first jar a week after canning to see how the flavor is, if it’s a bit weak, I’ll open the other jars sporadically to see what the sweet spot is. Boiling these jars as a last step is what makes them shelf stable and will allow them to last that long. An update shall come in a few days to determine the success or failure of this recipe.

Pickles!
4 mason jars
3 cups filtered water
3 cups apple cider vinegar
1/2 cup coarse salt
3 Tablespoons of fresh dill, chopped
2 Teaspoons red chili flakes
6 cloves garlic, sliced
2 Tablespoons mustard seeds
2 Tablespoons black pepper seeds

1. Wash jars and lids with soap and water. Boil in water to sterilize, if desired.

DSC_0019

2. Combine water, vinegar, and salt in a saucepan. Bring to a boil until the salt dissolves to create a brine.

3. Equally distribute the dill, chili flakes, garlic, mustard and pepper seeds into four mason jars.

DSC_0065

DSC_0057

4. Cut up the cucumbers as desired, I used spears and chips. Place them into jars without over crowding.

DSC_0080

5. Pour the brine over the pickles, leaving a quarter of an inch from the top of the jar.

DSC_0083

6. Place the tops on and close, but not too tight. Place jars into a large pot of boiling water, making sure the jars are completely covered. Boil for 10 minutes, then remove and put aside to cool.  DSC_0154

Roasted Garlic Hummus

We are both in agreement that this is the best vegetable dip I’ve made recently. Roasting the garlic beforehand instead of just throwing in cloves of garlic gives it a completely different taste and it’s worth it if you have the hour to spare. Roasting the garlic like this is also great for crostini, pasta, and salad dressing recipes as well. I’ve roasted heads of garlic and used them to make garlic bread for holiday parties, it gives it much more depth of flavor than just using garlic powder.

Roasted Garlic Hummus
1 head garlic, top sliced off
Dash of olive oil
Kosher salt and black pepper
2 cans chickpeas
2 Tablespoons tahihi
3 Tablespoons olive oil
1/4 cup water
2 Tablespoons fresh lemon juice
1/2 teaspoon salt

1. Put garlic in tinfoil and put a dash of olive oil on top and sprinkle with salt and pepper. Cover entire head in tinfoil and place on a baking sheet, roast at 375 degrees for one hour.

DSC_0432

DSC_0437

2. Once cool, use your fingers to remove all of the garlic (you will spell like garlic all day, be prepared to be okay with this). Combine all remaining ingredients with garlic into a food processor and pulse until creamy.

DSC_0499

Mini Chocolate Pudding Pies

Jason and I have friends from home visiting the Bay Area this weekend. We all met up in Sonoma yesterday for wine tasting and lunch. It was a beautiful sunny day with a light breeze — perfect wine drinking conditions. My original plan was to bring these little desserts for everyone to enjoy, but the 80+ degree heat would have turned these into mushy messes. Either way it was a wonderful Sunday with friends and these pies will just have to be tonight’s dessert!

Mini Chocolate Pudding Pies
9 oz. of shortbread cookies, gluten free
6 Tablespoons unsalted butter, melted and cooled
2 Tablespoons sugar
2/3 cup sugar
3 Tablespoons cornstarch
1/2 teaspoon salt
3 large egg yolks
3 cups whole milk
6 oz. semi-sweet chocolate, melted
2 oz. unsweetened chocolate, melted
2 Tablespoons unsalted butter, room temperature
1 Tablespoon vanilla
2 cups heavy cream
2 Tablespoons sugar

1. Pulse cookies in a food processor until completely broken down into sandlike crumbs. Add butter and sugar and pulse again until everything is evenly wet.
DSC_0726

2. Put 2 Tablespoons of mixture into seven mini pie dishes. Push up the edges of the pie plates. Bake in a 325 degree oven for 10 minutes. Let cool on wire rack.

DSC_0846

DSC_0798

3. Combine sugar, salt, cornstarch and yolks in a saucepan over low heat. Turn to medium heat and whisk milk in steady stream. Bring to a boil and occasionally stir. As soon as it begins to boil, it will thicken very quickly. Turn to low heat and whisk for about a minute.

DSC_0887

DSC_0891

DSC_0919

4. Pour mixture through a fine sieve into a large bowl. Mix in chocolate, vanilla and butter. Stir until combined.

DSC_0933

DSC_0945

5. Place a buttered circular piece of parchment paper and chill in fridge for at least two hours, mine sat overnight.

DSC_0977

6. Put heavy cream and sugar in a standup mixer. Mix with whisk attachment for 3 minutes or until stiff peaks form.

DSC_0985

7. Evenly fill pie crusts with chocolate pudding and cover with whipped cream, lightly dust with chocolate shavings.

DSC_0030

DSC_0100

DSC_0185

DSC_0274

Green Goddess Vegetable Dip

Herbs. So many herbs. This dip has most of the herbs we grow in our garden… plus mint I had to buy because for some reason we’re incapable of growing it. This is the first time in three years that anything has sprouted from mint seeds we’ve planted and it’s still not producing anything that looks harvest-worthy. Time will tell!

Add this to the list of recipes made so unbelievably simple with a food processor. If you don’t have one, I suggest figuring out a way to make this anyway because it’s tastes like Summertime.

Green Goddess Dip
1/2 cup fresh dill
1/2 cup fresh mint
1/2 cup fresh parsley
1/3 cup fresh basil
3 garlic cloves, chopped
2 whole scallions, roughly chopped
2 Tablespoons fresh lemon juice
Kosher salt
1/2 cup olive oil
1/2 cup feta cheese
1/2 cup Greek yogurt

1. Put all the ingredients in the herbs, garlic, lemon juice and salt in a food processor. Pulse until completely chopped. While it’s running, slowly add in olive oil and run for a few extra seconds. Then add the yogurt and cheese.

DSC_0255

2. Eat with every veggie in sight, put it on a salad, or maybe on a sandwich? I don’t know, live a little!

DSC_0596

DSC_0709

Copyright © 2018. Powered by A & E Cyber Publishers.