
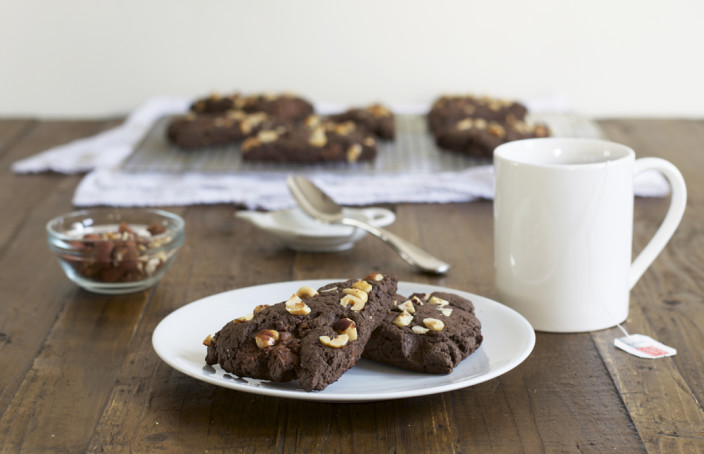
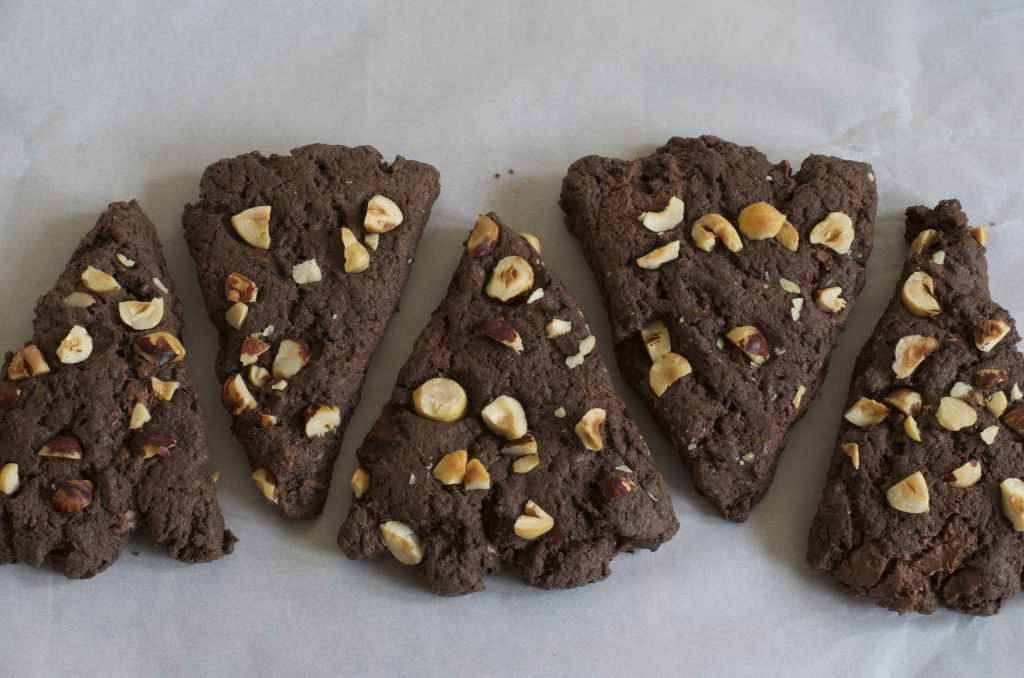
Chocolate and Hazelnut Scones
Four years have passed since my last attempt at making scones. Needless to say, they didn’t turn out very well that time around. From that point on they’ve always seemed so daunting in my mind. It’s the pressure of the perfect sandy texture when mixing the dry ingredients and butter before you dare add the wet ingredients. I’m never confident in this stage to know whether or not they’re going to turn out well.
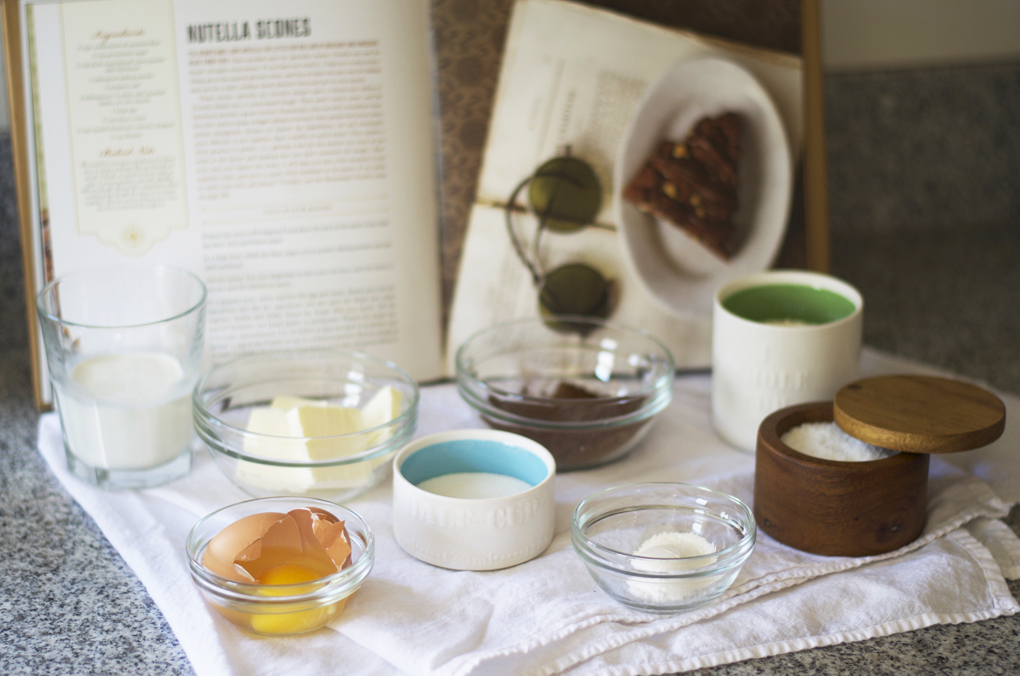
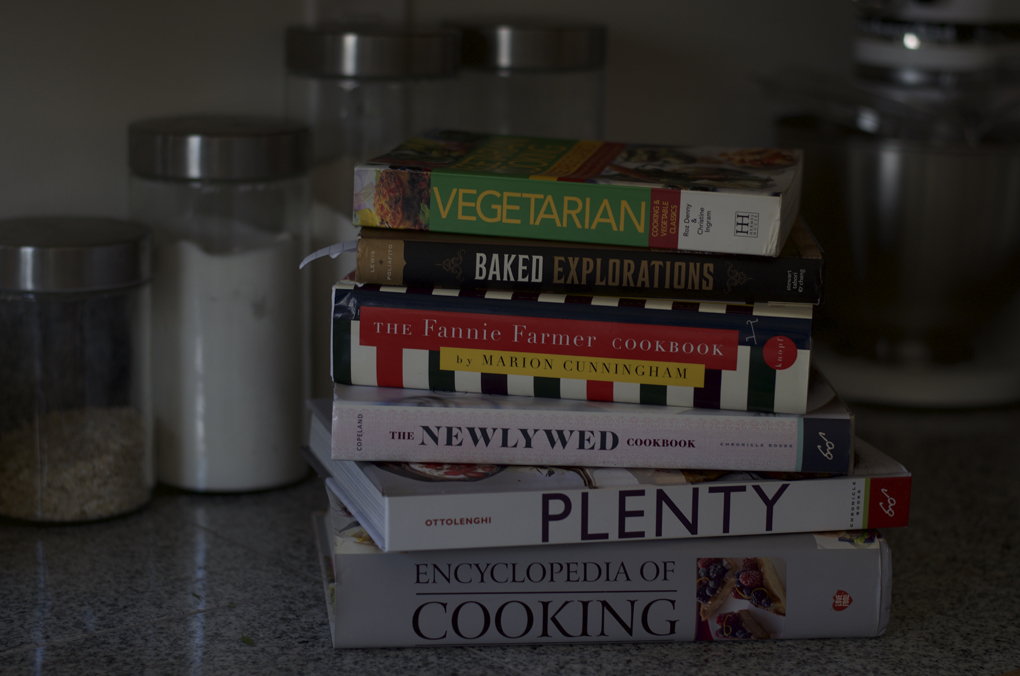
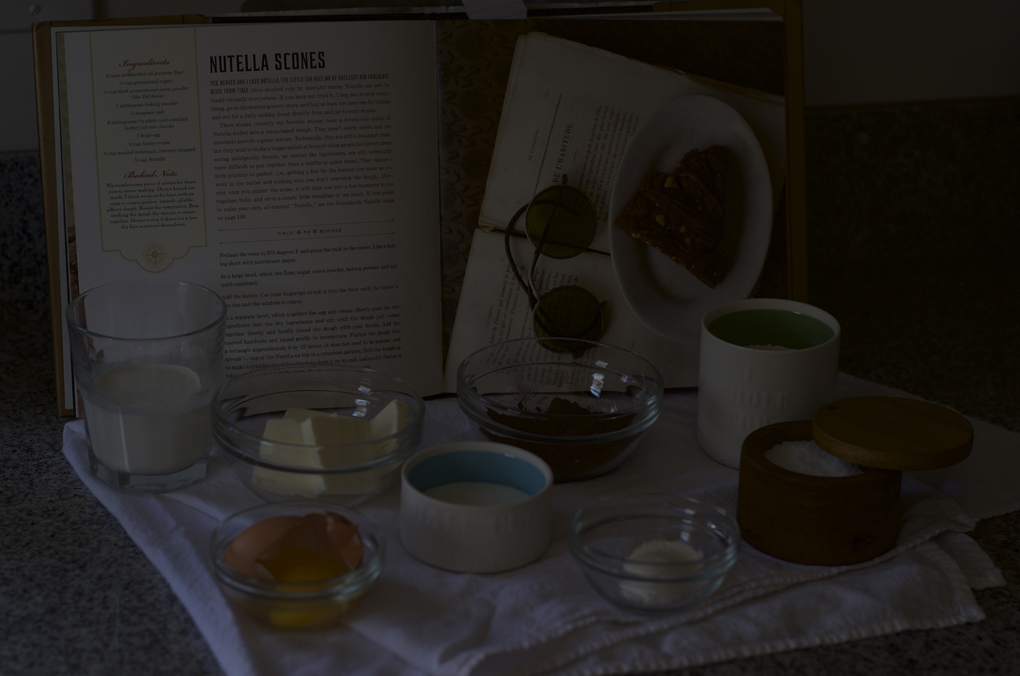
I used a recipe from Baked Explorations, a cookbook that I’ve had since 2011. It’s a gorgeous book and full of great tips, wonderful photography, and is also home to a trusty coffee cake recipe. I’ve been blessed with wonderful desserts because of that book that I decided to be faithful in their scone instructions.
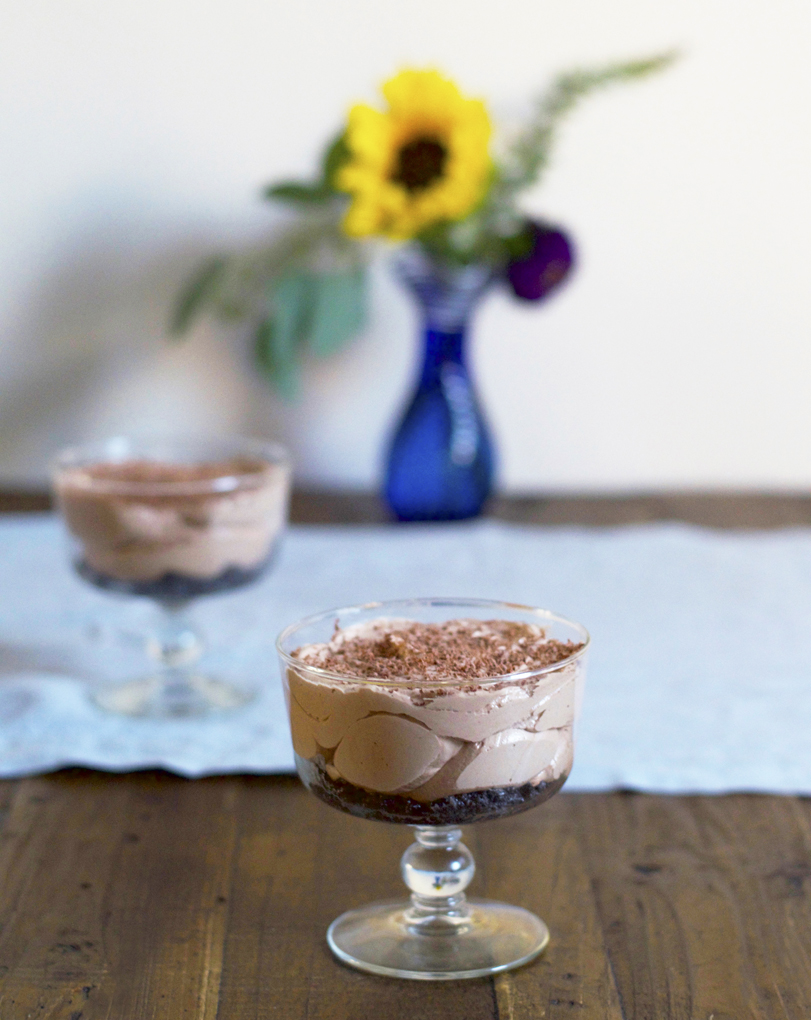
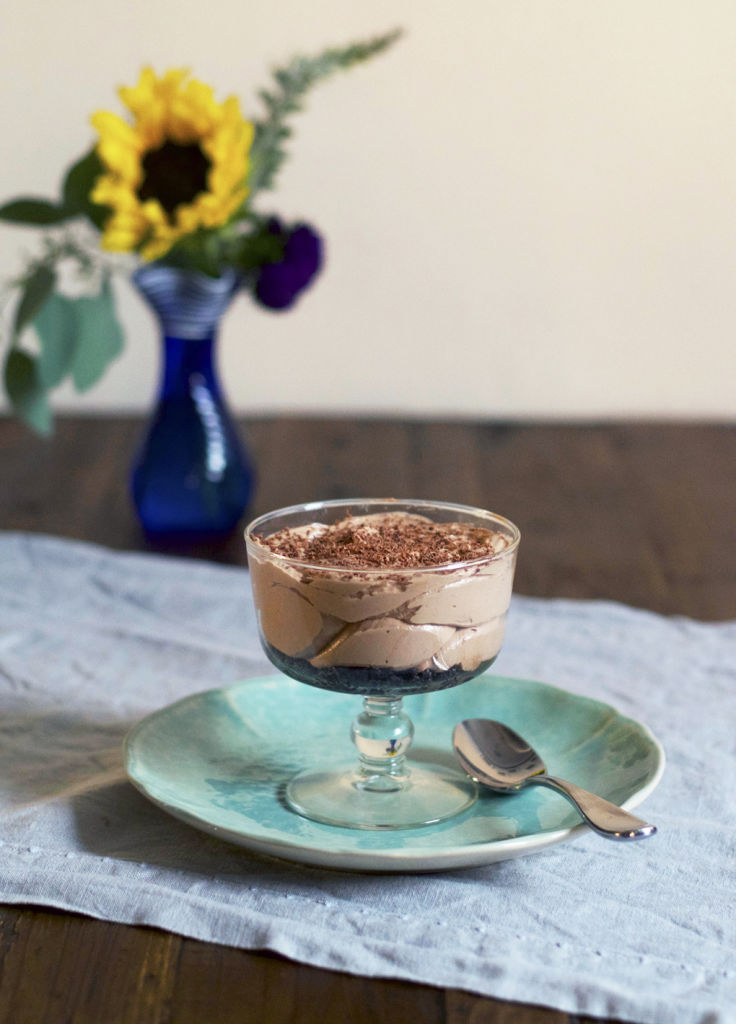
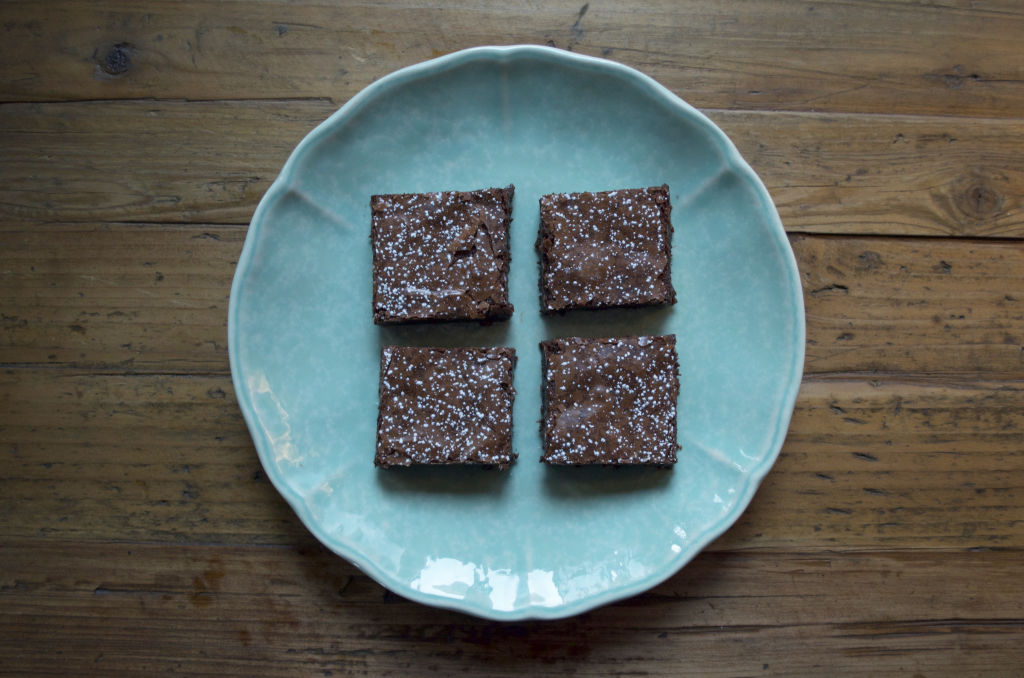
The scones came out beautifully! Jason said they were light and airy and complemented coffee and tea perfectly. Great job Baked Explorations, you did it once again.
Chocolate and Hazelnut Scones
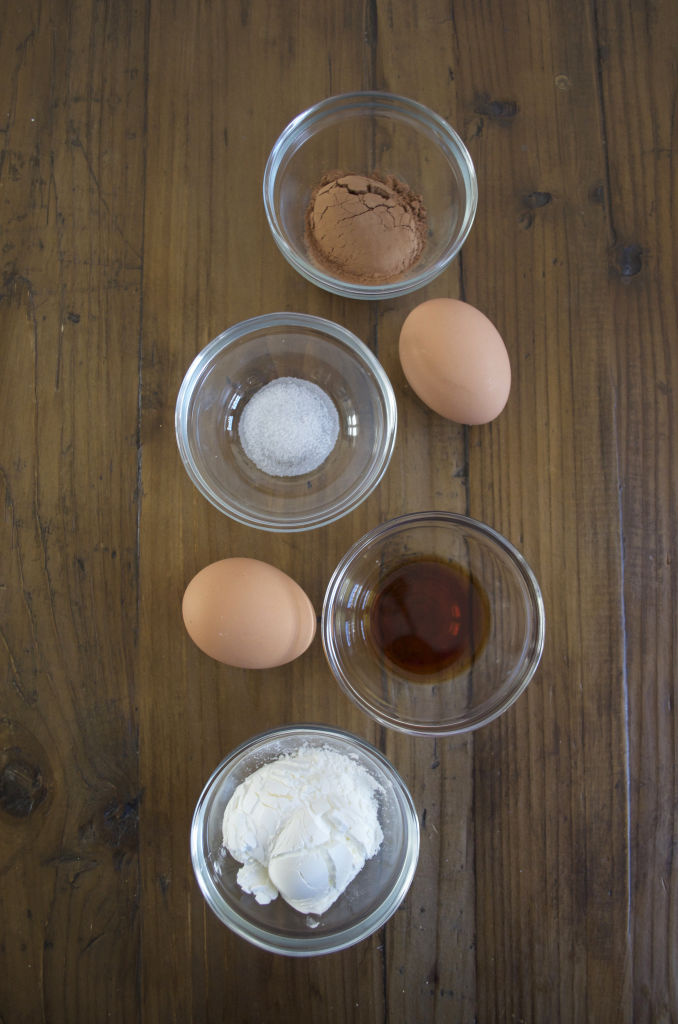
2 cups all-purpose flour
1/4 cup sugar
1/4 cup dark sweetened cocoa powder
1 Tablespoon baking powder
1/2 teaspoon salt
6 Tablespoons cold unsalted butter, cut into chunks
1 large egg
1/2 cup heavy cream
3/4 toasted hazelnuts, coarsely chopped
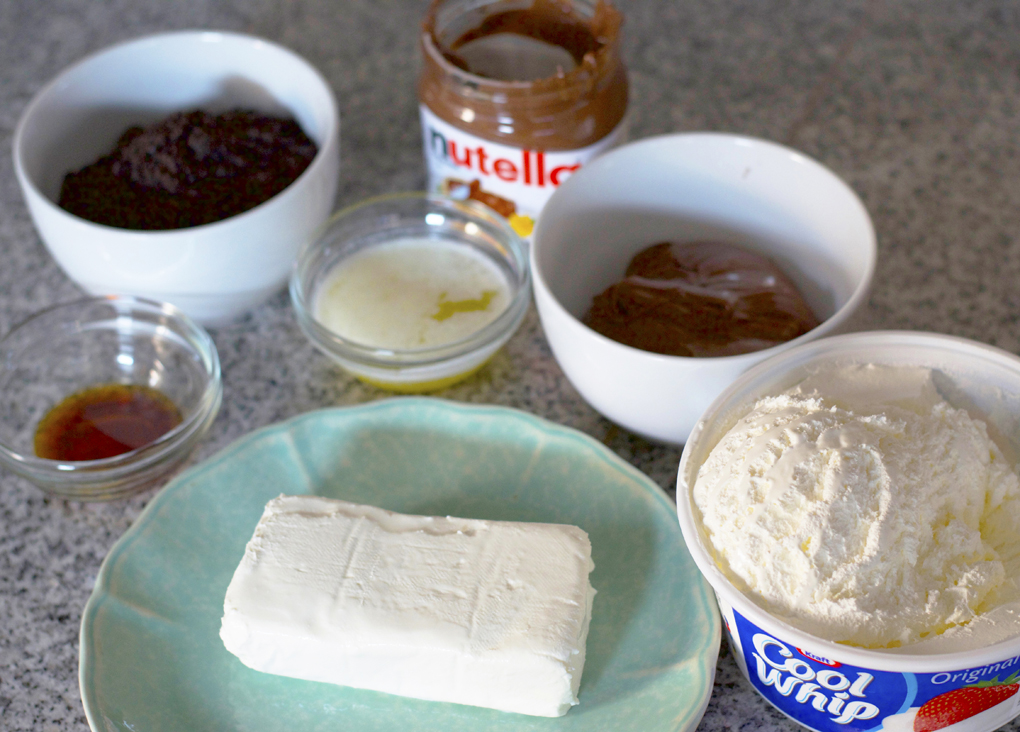
1/2 cup Nutella
1. Preheat the oven to 375 degrees F and place the rack in the center. Line a baking sheet with parchment paper.
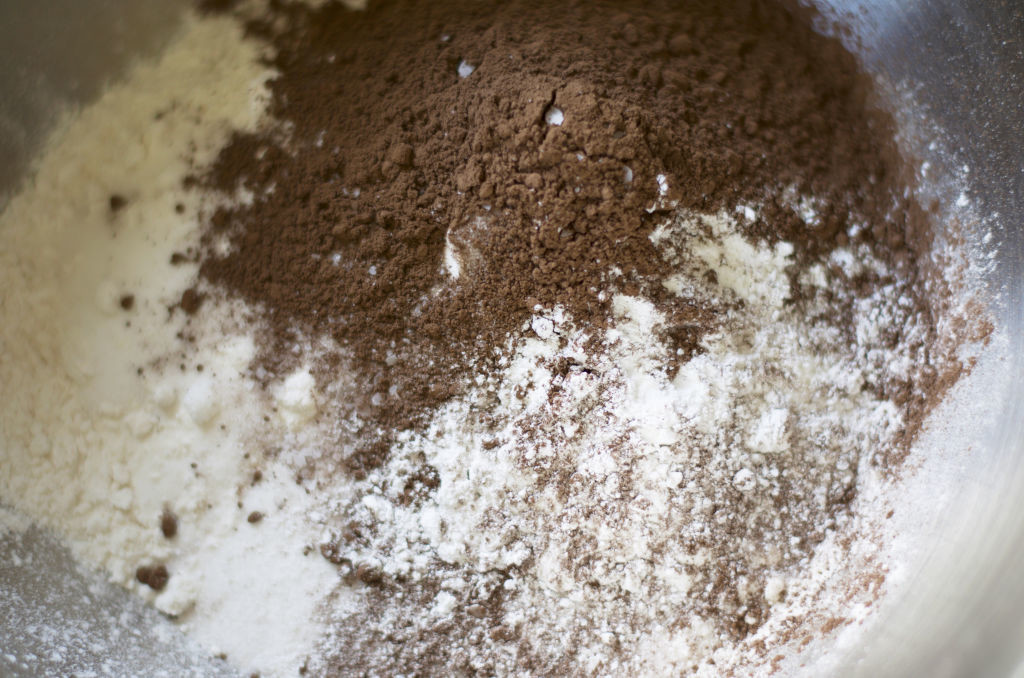
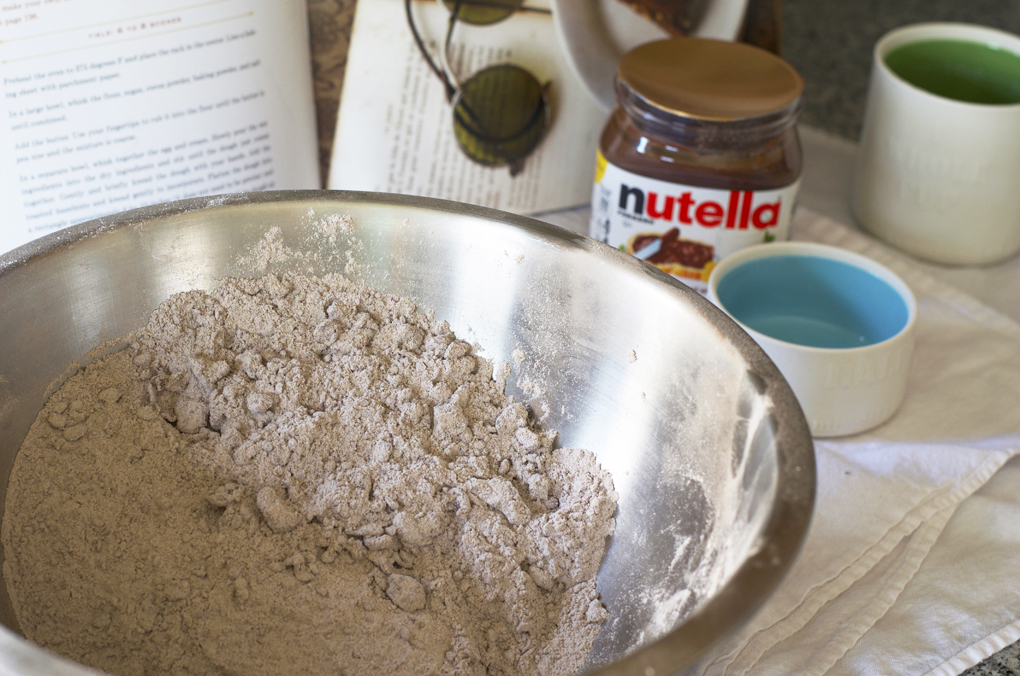
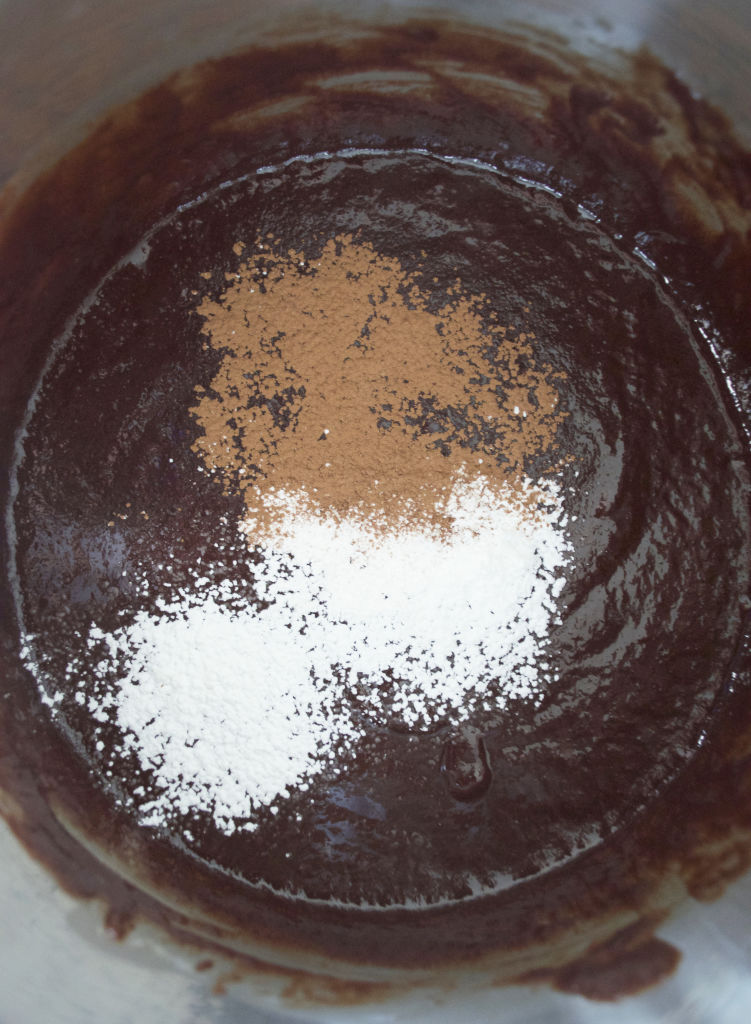
2. In a large bowl, whisk the flour, sugar, cocoa powder, baking powder, and salt until combined.
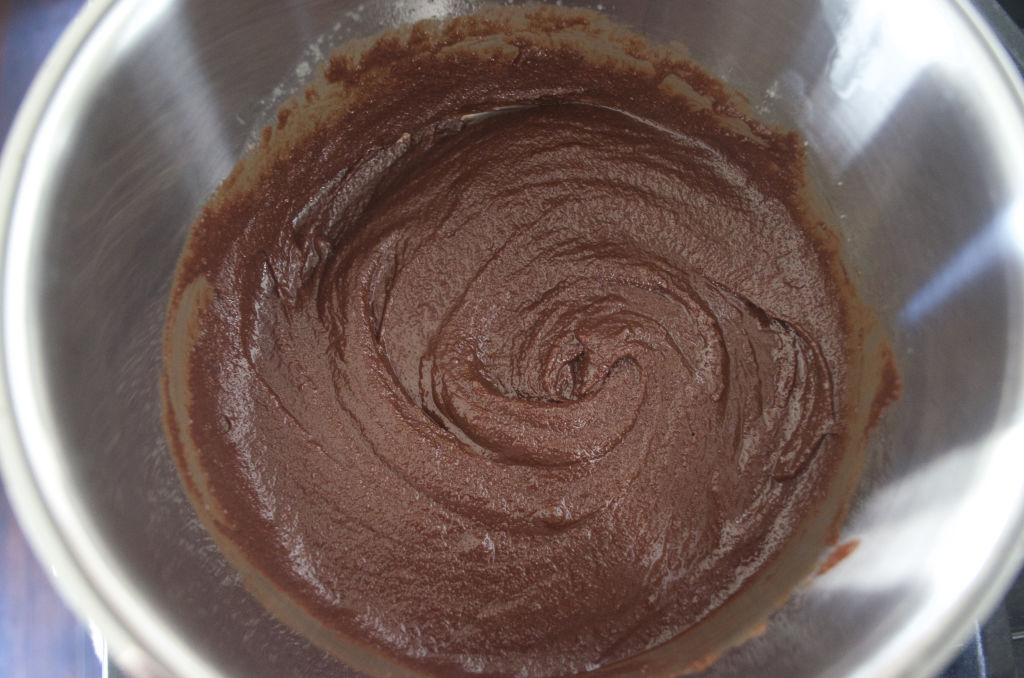
3. Add the butter. Use your fingertips to rub it into the flour until the butter is pea size and the mixture is coarse.
4. In a separate bowl, whisk together the egg and cream.
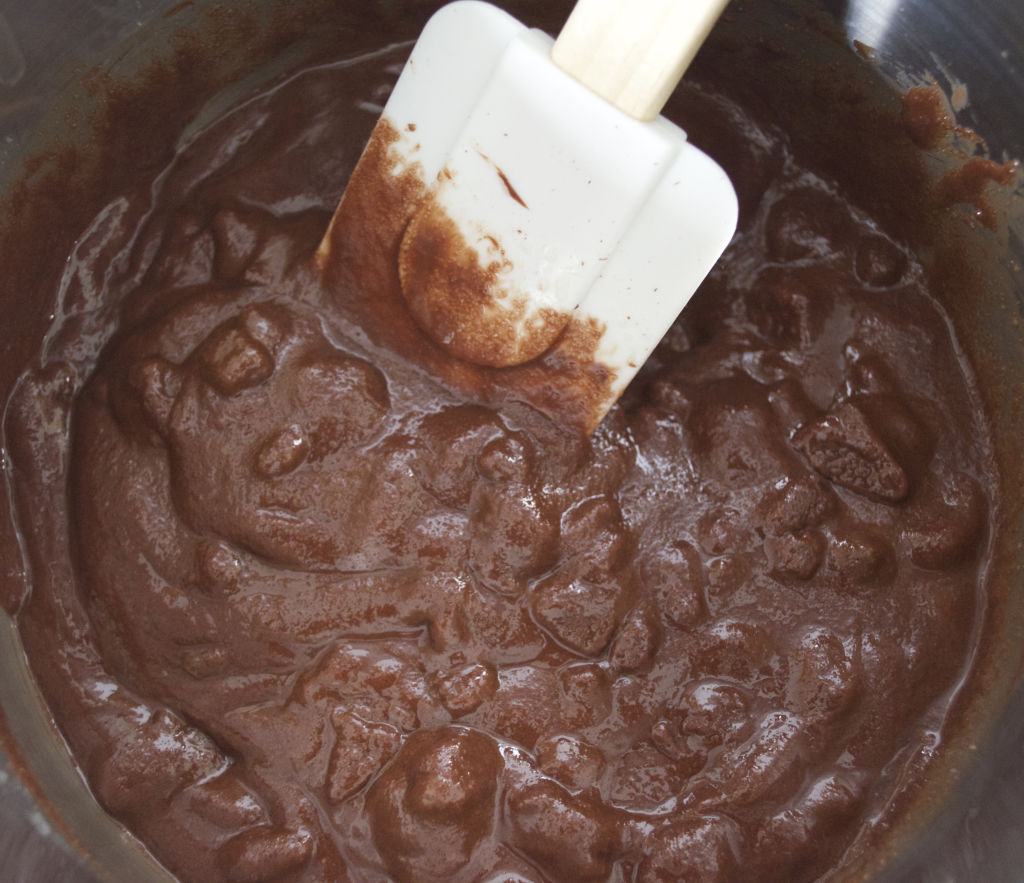
5. Slowly pour the wet ingredients into the dry ingredients and stir until the dough just comes together. Gently and briefly knead the dough with your hands.
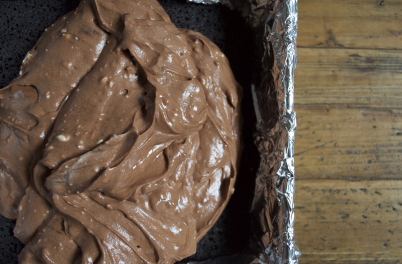
6. Flatten the dough into a rectangle approximately 6 by 12 inches. Evenly spread the Nutella over the dough.
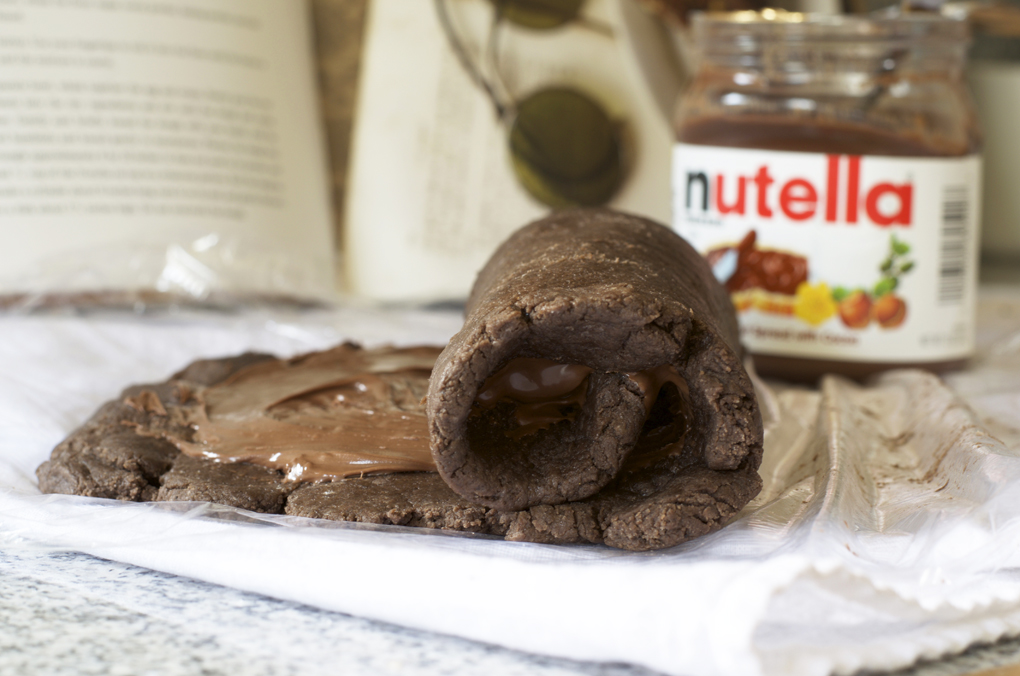
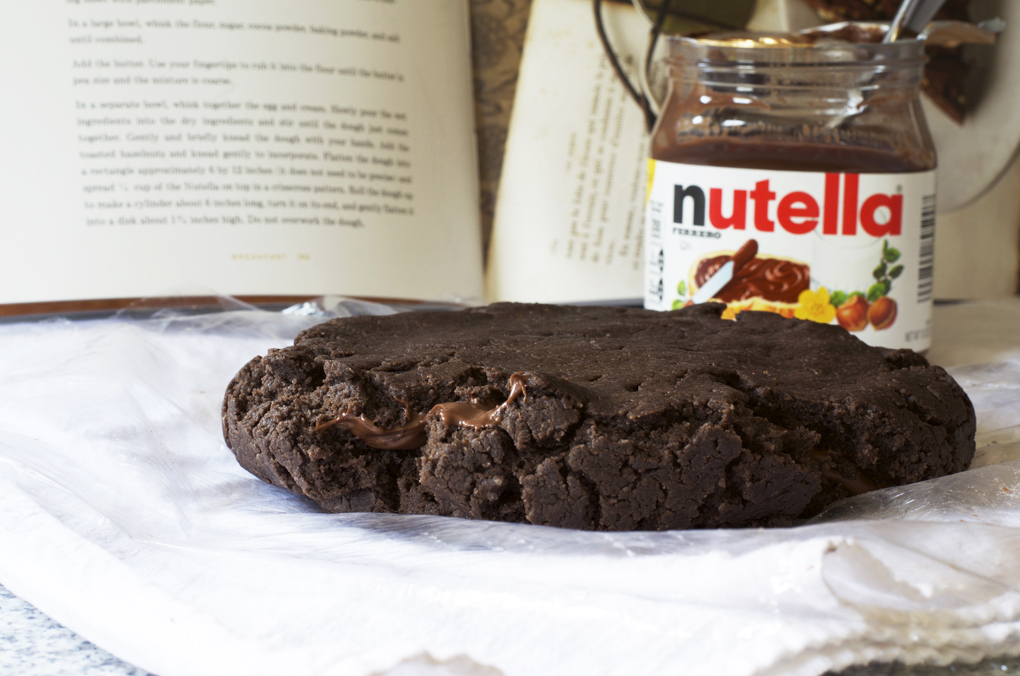
7. Roll the dough up to make a cylinder about 6 inches long, turn it on its end, and gently flatten it into a disk about 1 3/4 inches high. Do not overwork the dough.
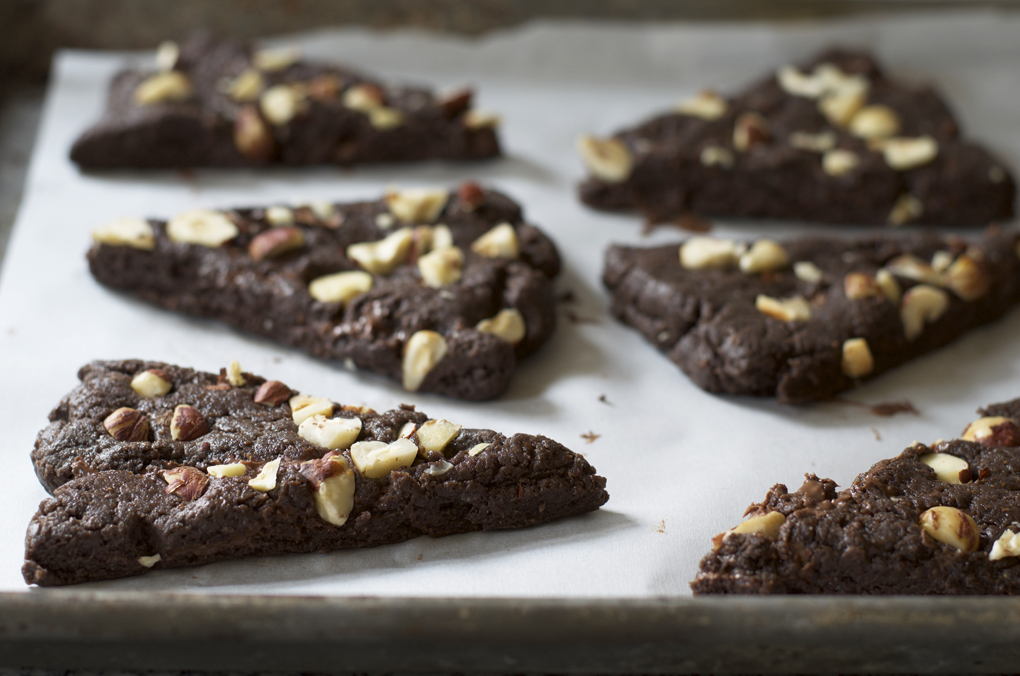
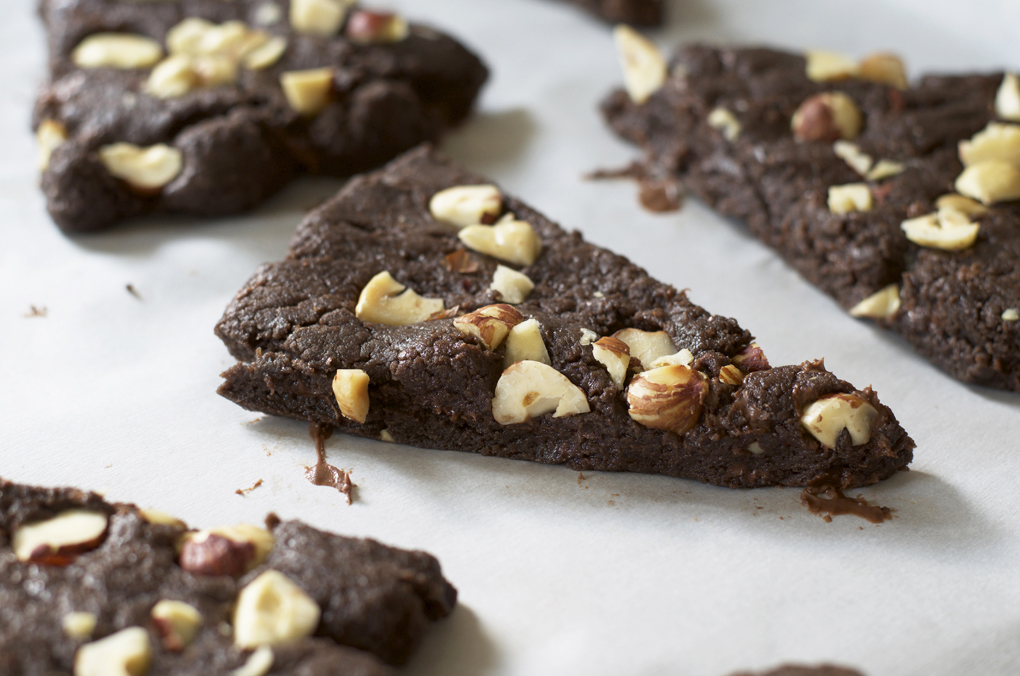
8. Cut the dough into 6 or 8 wedges and place them on the prepared baking sheet. Top with toasted hazelnuts and slightly press in so they don’t fall out.
9. Bake the scones for 18-20 minutes, rotating the baking sheet halfway through, or until a toothpick inserted into the center of a scone comes out clean. Do not over bake.
10. Transfer the scones to a wire rack to cool completely. Place the baking sheet with the parchment still on it underneath the rack.

* * * * * *
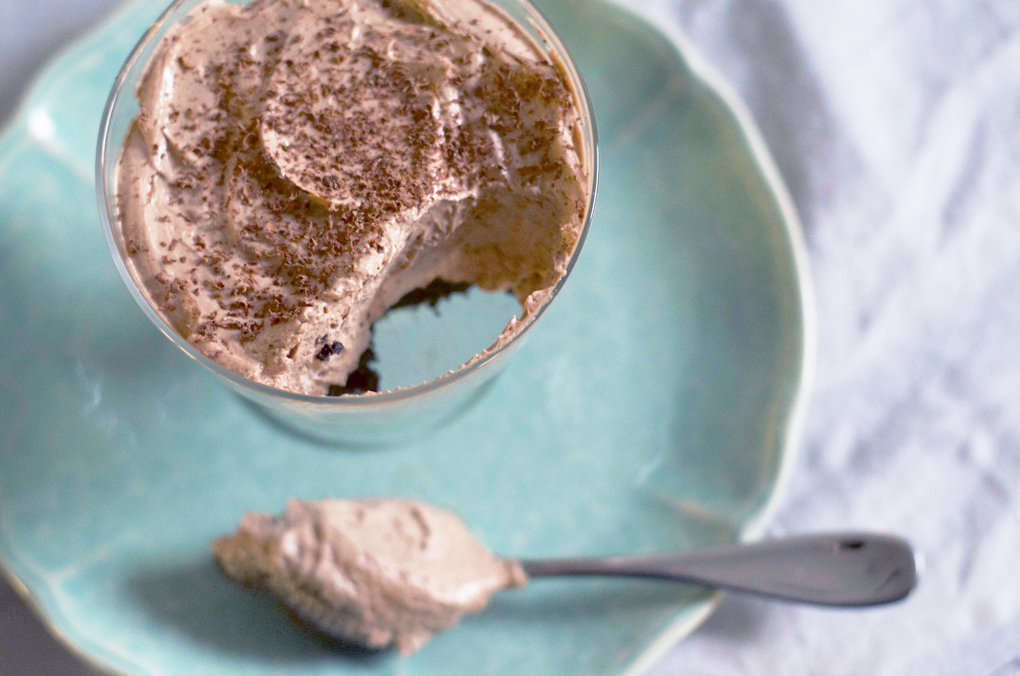
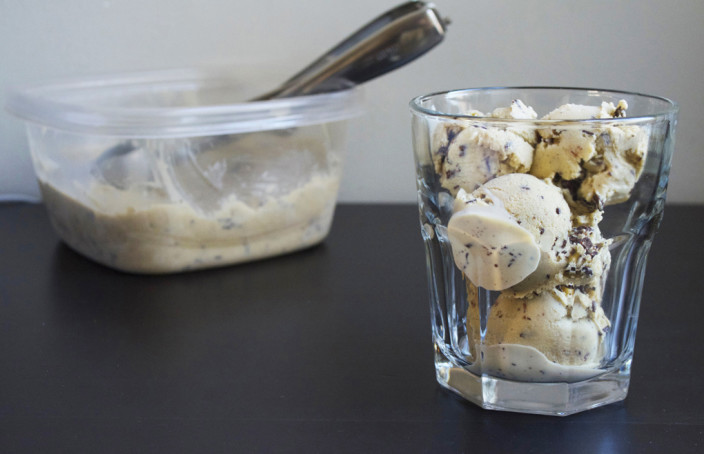
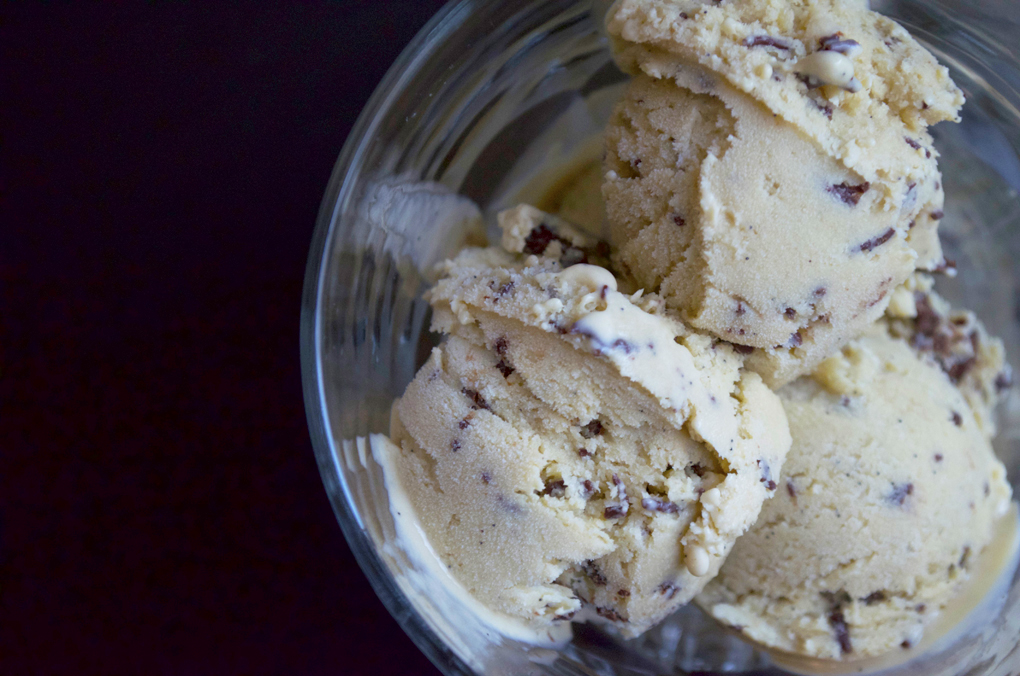
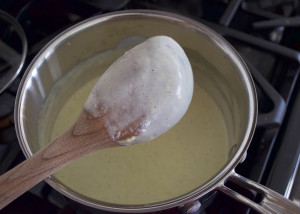
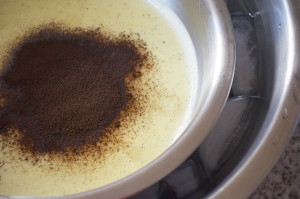
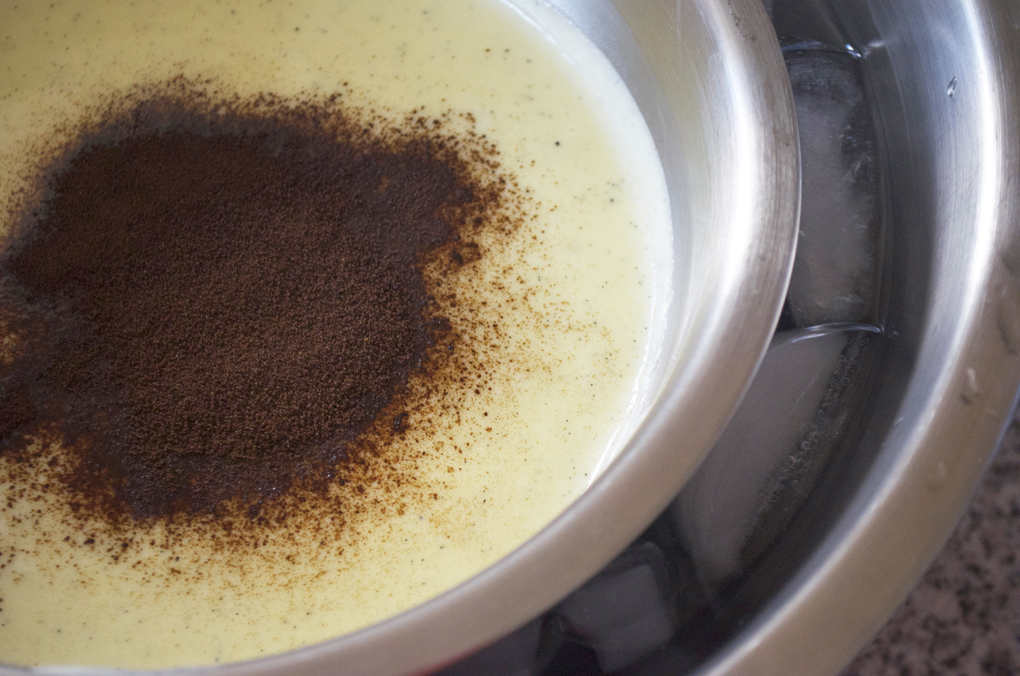
Jason got me a new lens for my birthday and then I purchased a tripod a couple weeks ago. These have been picture-taking saviors! I tested them both out on this recipe and realized what a difference they make.
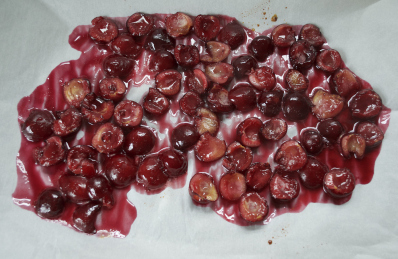
The tripod allows me to lower the shutter speed to let more light into the photo. Without it, I’m not able to do bring the shutter speed lower than 1/80 because the pictures will come out blurry. Humans can’t really hold a camera without interfering with the quality of the picture at a shutter speed slower than that. Here are two set ups with and without using the tripod.
With tripod:

Without tripod:
With tripod:

Without tripod:
Before the tripod/new lens I had to search around the house for the perfect lighting. This is not conducive to quick cooking and not always ideal when you have a hungry husband. The tripod and lens are great time savers and also take some pretty neat pictures!


