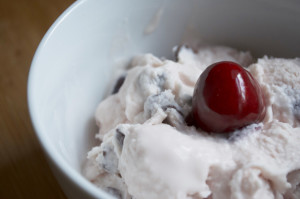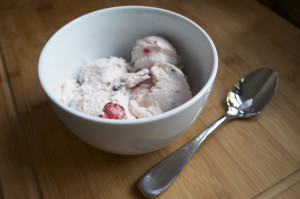
Cherry and Chocolate Coconut Ice Cream

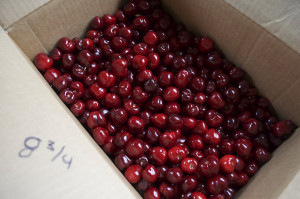
One of the recipes that came out of the Cherry Picking Day was this coconut ice cream with cherries and chocolate. It slightly helped shrink down the 8 3/4 lbs of cherries we have.
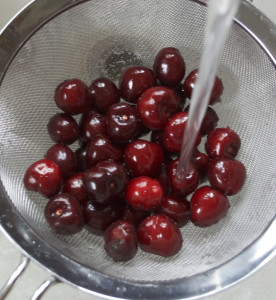
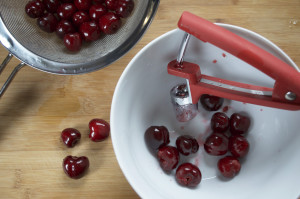
Inspiration to make ice cream came from my friend Deana, and what a delightful idea it was! First you have to clean and pit the cherries, which is a strangely cathartic process then get down to the actual ice cream making. I don’t have an ice cream maker or an attachment for my Kitchen Aid yet, so I got a bit old school and creative with it. It turned out very well, although time consuming. You have to stick around for about three or four hours before you can really enjoy it. That takes serious patience. It’s worth it, promise! It might be perfect for a rainy day activity / treat.
Cherry and Chocolate Coconut Ice Cream
2 cups whole cherries, pitted
1/4 cup sugar
Juice of half a lemon
2 cups heavy cream
1 3/4 cups cream of coconut
3/4 cups whole milk
3/4 cup chocolate chips
Dash of tart cherry juice, for color
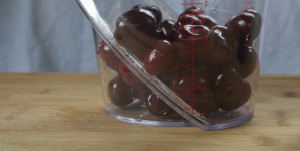
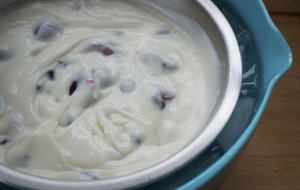
1. Combine the ingredients for the ice cream and place over an ice bath to chill.
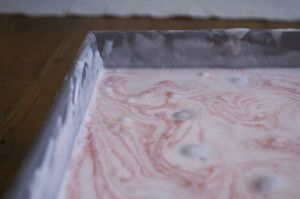
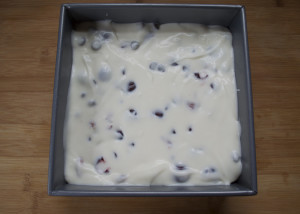
2. Place the cold mixture into a freezer safe shallow pan.
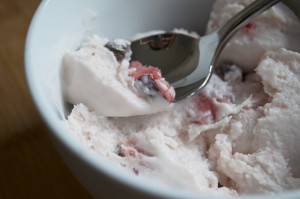
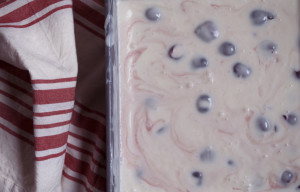
3. Chill for about 30 minutes in the freezer. As the edges start to freeze, stir the mixture rapidly with a spatula to break apart the freezing ice cream. Return to the freezer and repeat about 6 or 7 times until mixture is smooth and creamy. Add a dash of cherry juice if you’d like to give the ice cream a pink color.
4. Remove the ice cream from the pan and put into a covered freezer container until ready to serve.