
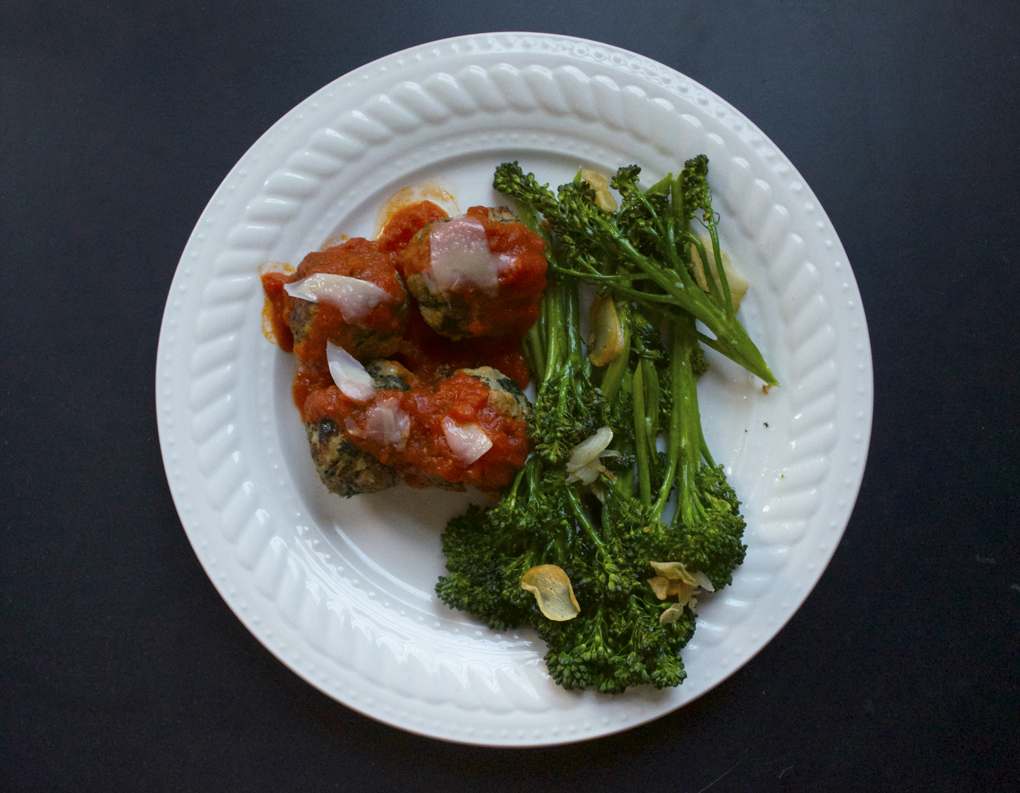
Turkey and Spinach Meatballs
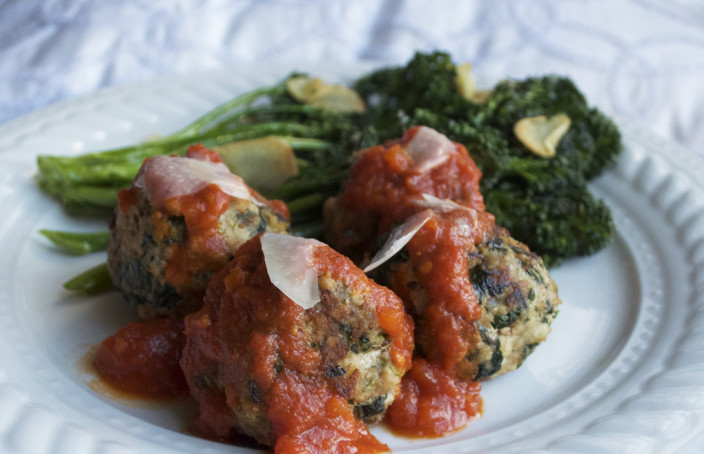
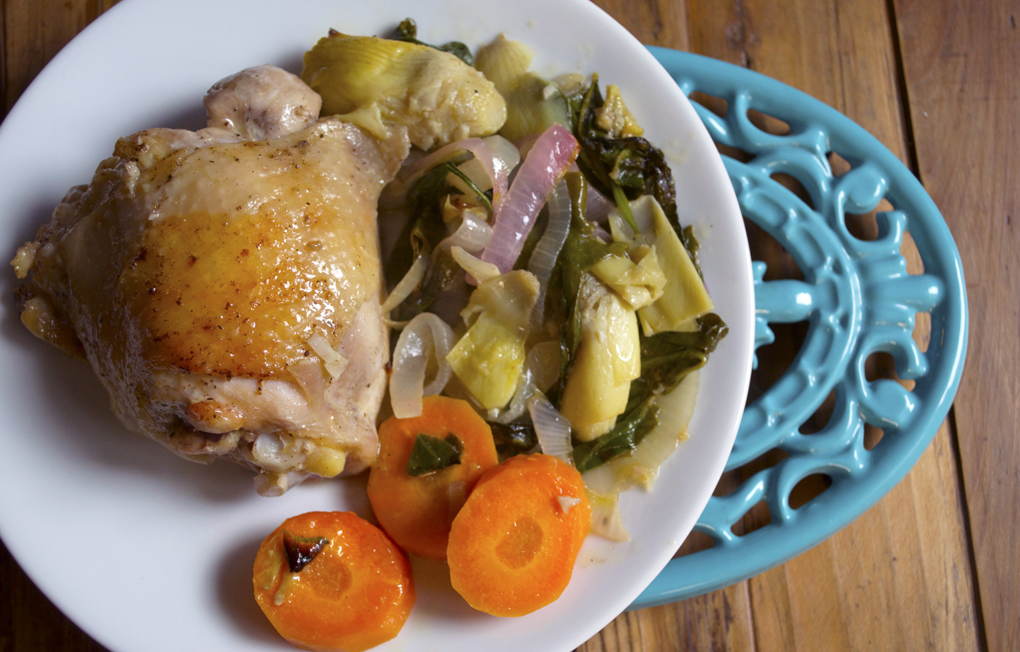
I have no idea what’s happening with our broccoli plants. They’re producing broccolini-type veggies now, but they’re just as tasty so that’s fine by me. They were delicious sautéed with sliced garlic and olive oil and perfect with this meatball recipe. The fennel in the turkey-spinach combo is a really nice touch but I will replace the spinach with fresh kale from the garden next time. Definitely a recipe to keep around, thanks to bon appetit again.
Turkey and Spinach Meatballs
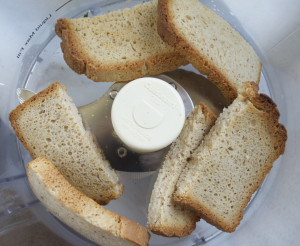
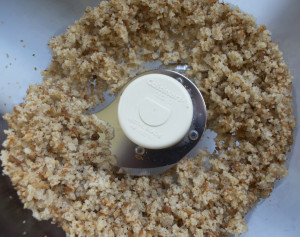
2 slices of gluten free bread, toasted
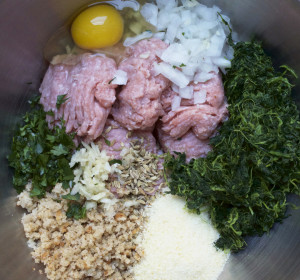
1 1/2 lb ground turkey
1/2 cup chopped sweet vidalia onion
2 cloves garlic, chopped
2 Tablespoons Italian parsley, chopped
1 teaspoon fennel seeds
1/4 cup Parmesan cheese
8 oz package of frozen chopped spinach, defrosted and drained of excess moisture
1 large egg, slightly beaten
Salt and pepper
3 Tablespoons olive oil
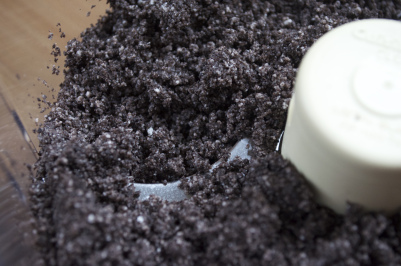
1. Place toasted bread into a food processor and pulse until they turn into breadcrumbs. Use 1/2 cup for meatballs, keep the rest in an airtight container for the next recipe!
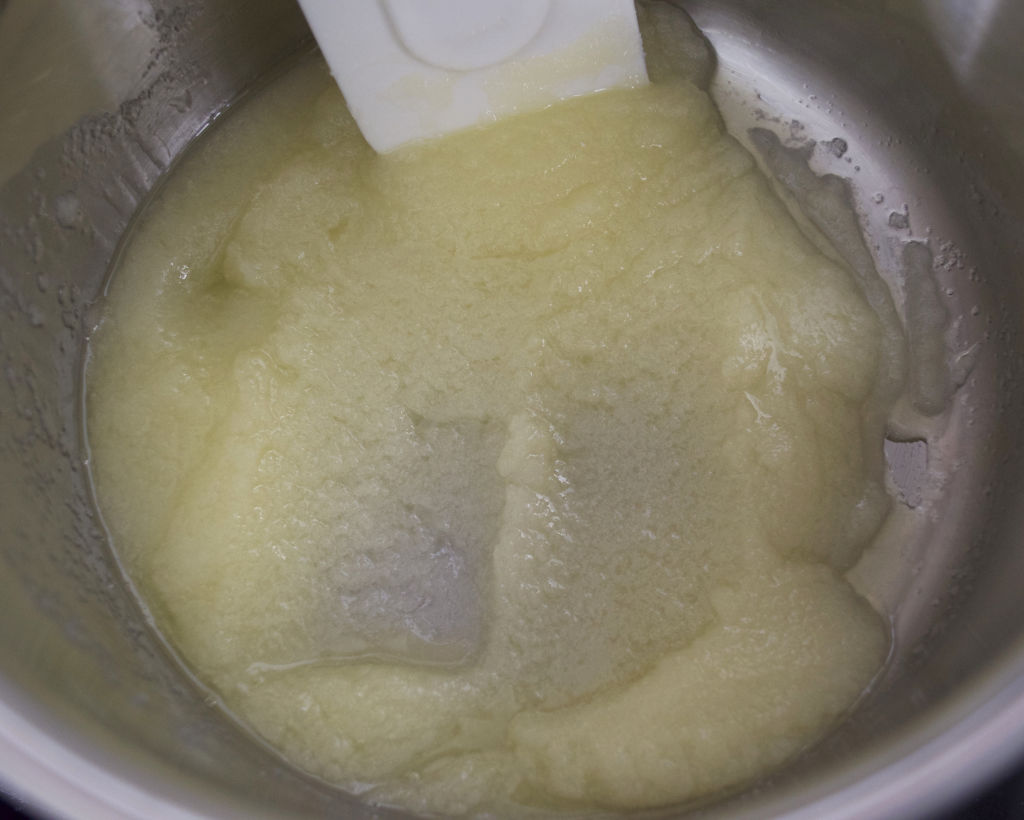
2. In a medium bowl, combine turkey, onion, garlic, parsley, fennel, parmesan, spinach, salt, pepper, breadcrumbs, and egg. Roll into meatballs, approximately 16.

3. Heat olive oil in a skillet and cook meatballs for about 3-4 minutes on each side until golden brown and cooked through. Do not crowd the skillet, you will probably have to cook in batches. Once one batch is done, place on a paper towel covered plate to remove excess oil.


4. Serve with broccoli and marinara sauce.


